


HG Seravee Gundam – Part 2
Last time I stopped working on the HG Seravee Gundam after putting the head and the upper body together, and did some small modification on the head. This time, I have done a little bit more refinement on the head as well as building the arms. A small detail is also added to the arm to enhance the appearance. Here is a small write-up.

Following the manual, I started with the elbow unit. In general, I am pretty happy with the way the elbow is put together. Left and right halves together make the elbow a separate piece from the remaining of the arm.

One on each side, including the elbow unit and the armor that hangs down from the shoulders. So far no model cement is needed.

Next is the shoulder. This time model cement is needed to permanently bond the front and the back pieces and the armor is hinged off the shoulder. This crimp tool helps to ensure the cement is set with some pressure.

Next is the lower arm. Model cement is also needed. As you can see I usually use more model cement so that the cement is squeezed out of the seam. This ensures that once it is dried, I can cut off the excess cement and leaves no seam on the surface.

And with the extra armor pack attached to the shoulder, this is getting exciting ^^;

Both arms attached. The wonderful thing about an HG model is that it is small but the 00 serious HGs are very well made in terms of how the color pieces are separated already. I am looking forward to airbrushing this later.

I also did some small adjustments to the antenna to make it a bit sharper. Also, I filed down the part of the face that sticks up just below the eye. So far I am pretty happy with how the head is turning out.

From the front. I am not too sure if I like the armor packs that are attached to the shoulders. I will have to think about how to make the proportion a bit nicer.

OK, spent enough time just looking at the progress (procrastinating), time to move on.

I noticed that some of the seam lines were not successfully covered, maybe I didn’t use enough model cement to glue the pieces together. The Tamiya Modeling Putty is good for filling in the gaps.

I use some Q-Tips to help me apply a small amount to any seams that need filling. Like the seams on the top of the upper body, as well as the seam on each shoulder. Only a small amount is needed as this material hardens and is best not to put on an excess amount as you will spend more time filing it down.

I noticed that the inside of the lower arm looks a bit empty. It is like something is missing.

This is what the part looks like.
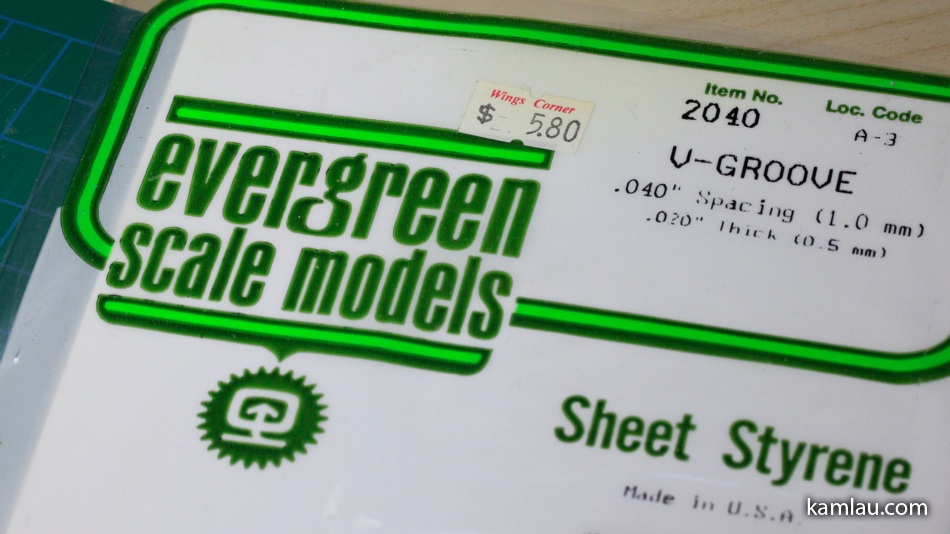
I have some of these plastic sheets made specifically for model making. This sheet has V-Groove lines for added details.

I use a caliper to measure the inside of the lower arm part so that I can cut out a piece from the plastic sheet. I always cut it to be a bit bigger and file it down after. It is always better to have more material to work with than not having enough.

So here is the plastic sheet cut just a bit wider than the inside of the part.

I was thinking about covering both the top and the bottom of the part somehow.

If I do both ends, it will look like this. No glue is applied yet but just testing how well the plastic sheets fit.

The elbow end looks like this.

The wrist end looks like this.

I use the regular Tamiya Cement to secure the plastic sheet to the part, and use the Extra Thin cement help secure the sheet where I didn’t want to apply the regular Tamiya Cement in fear if I applied too much, it might smudge or fill in the v-groove that I want for details.

Finally, I decided to add the plastic sheets this way. The elbow end has the sheet covering the hole. The wrist end is left somewhat original except the sheet is added to the inside to add a bit of detail.

In comparison, the arm on the right has the plastic sheet covering the elbow end of the lower arm, the arm on the left does not.

And here is what the wrist side looks like in comparison.

The next item to work on is the leg assembly, starting with the feet. I snipped the inside inserts a bit so that when I put the two pieces together, it will take very little effort to separate them. It is important as I will have to separate the bottom piece to paint some parts of it before putting it all together.

The feet are pretty straight forward. There aren’t any modifications to do here.

The knee assembly is a very traditional “HG” design. When you put it together, the color separation is not so well designed for airbrushing workflow.

What I mean is this knee assembly has 2 colors: the knee is dark gray, the thigh is white. If you put these pieces together, you cannot easily airbrush this without having some kind of tricky masking when applying the second color. I don’t think I will glue the pieces in this assembly as am hoping that after airbrushing, the seam line on the thigh will not be very noticeable.

For completeness, I am going to put together the leg and inspect if there is any room for improvement. First is the front half of the lower leg.

Then we have this middle piece which is added to allow the leg armor to be attached to the side of the leg.

The back of the leg is then attached to the middle part. I did have to trim and shorten the inserts inside so that I can disassemble this easily.

Adding the foot to the leg completes it.

Don’t forget there is also an “arm” unit that is attached to the front of the knee. You can also see that there are stress marks on the white plastic close to the knee. This may have to be filled in with the putty…

I think I am going to stop here as it is bad to be doing something for too long at once. I will continue to document the remaining processes. If you have any tips and comments, please feel free to share them with me.


Looking forward to the finished product. Would love to try out putty to seam lines but painting the applied part would be a pain.
.-= Samejima´s last blog ..Kaiyodo x Kadokawa Shoten Ayanami Rei Plugsuit ver. =-.
I am going to airbrush the whole gundam. Starting with a HG kit to get me into the workflow is a necessary exercise before attempting anything more complex… :)
Planning on using customized color schemes?
I don’t know yet, most likely try to stick with the original as much as I can because I haven’t done airbrushing for a while and getting the color right takes practise.
muhuhu I’m looking forward to see the gundam’s process :3
.-= chun´s last blog ..Himitsu Suzumiya =-.
are you going to watch every single step? :P
When I cannot watch, the Taigas will watch for me :P
.-= chun´s last blog ..Himitsu Suzumiya =-.
Ah I like what you did with your shoulder armor. Will try that out for mine ^^ Thanks for sharing
Can’t wait to see your results too! Thanks for commenting Chubbybots!