HG Seravee Gundam – Part 1
Finally, after months, if not years of not making any Gundams, today I decided to spend some time getting reacquainted with my hobby. I decided to start with a High Grade kit as there are fewer pieces to work with and hopefully it will take less time. So here is my progress.
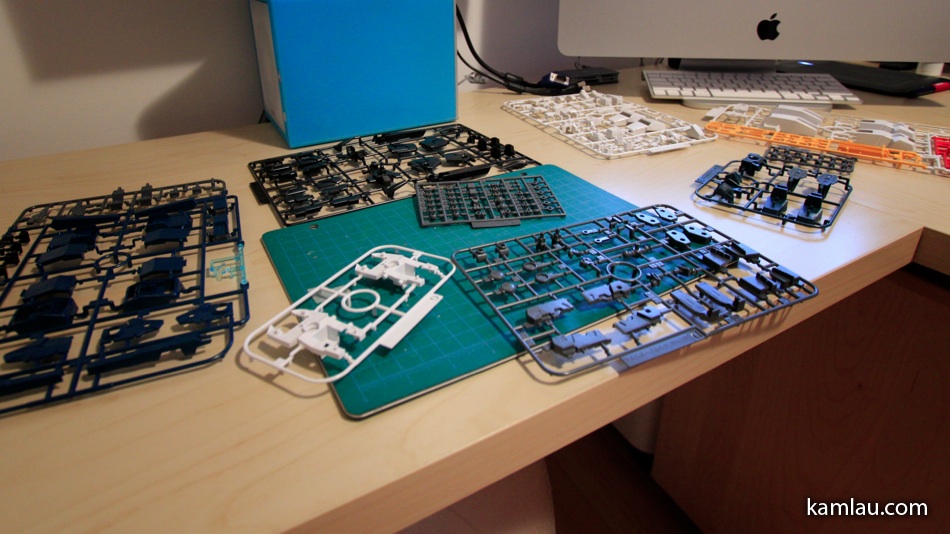
Unpacked the kit and there they are. Looks like there are still quite a lot of pieces. Should have started with a smaller HG kit ^^;

Started with the assembling the head. When comparing to some sketches found on the internet, I realized that the two sides at the front of “helmet” are a bit thicker than I like. So I filed the left side a bit. The right side is the original thickness for comparison.
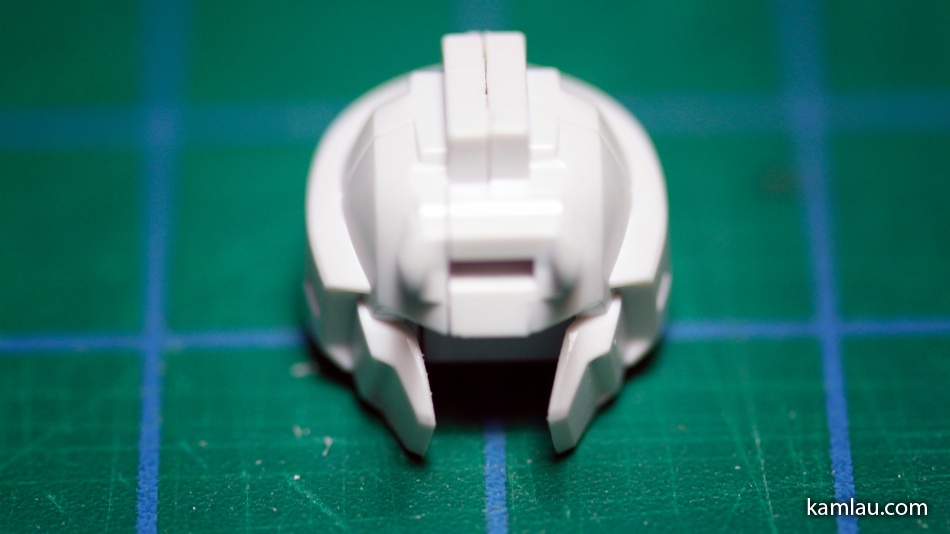
Now with both sides filed to about the same shape. I feel it looks a bit better.
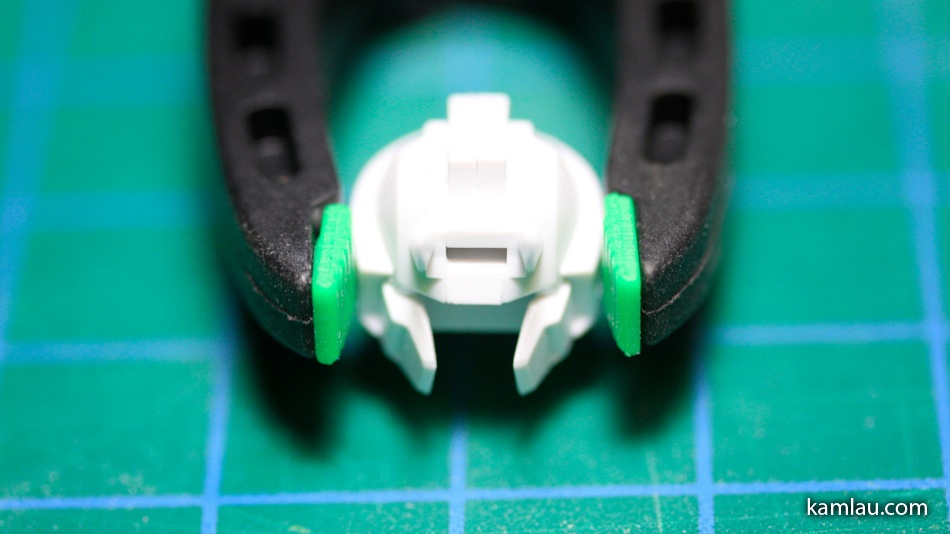
I applied the Tamiya modelling cement to glue the left and the right side together. It is important to apply constant pressure to set the cement. A tool like this really helps and it frees my hands to continue with the next part.

The tool looks like this. I got it from Daiso in Richmond. I am sure you can find similar tools in a dollar store as well.
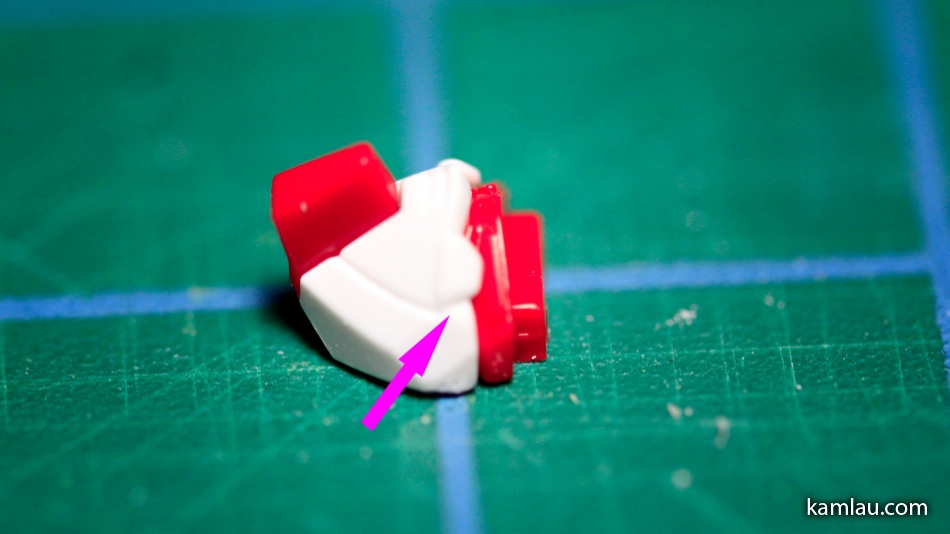
Next is the face. I was looking at it and also comparing with sketches and found the part of the face that sticks out to the eye is a bit too big. It is almost covering the eye.
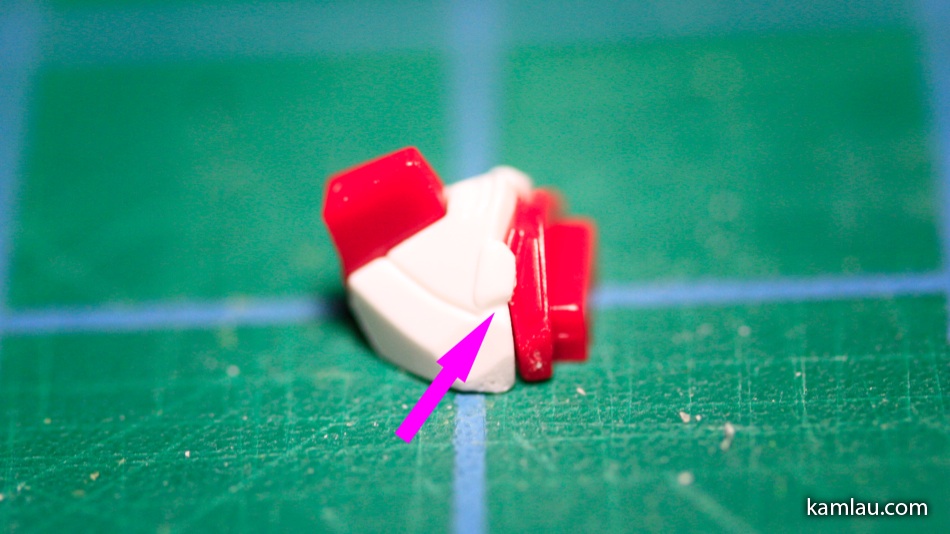
So I took the liberty of filing it down a bit, hopefully, Seravee Gundam can see now ^^/
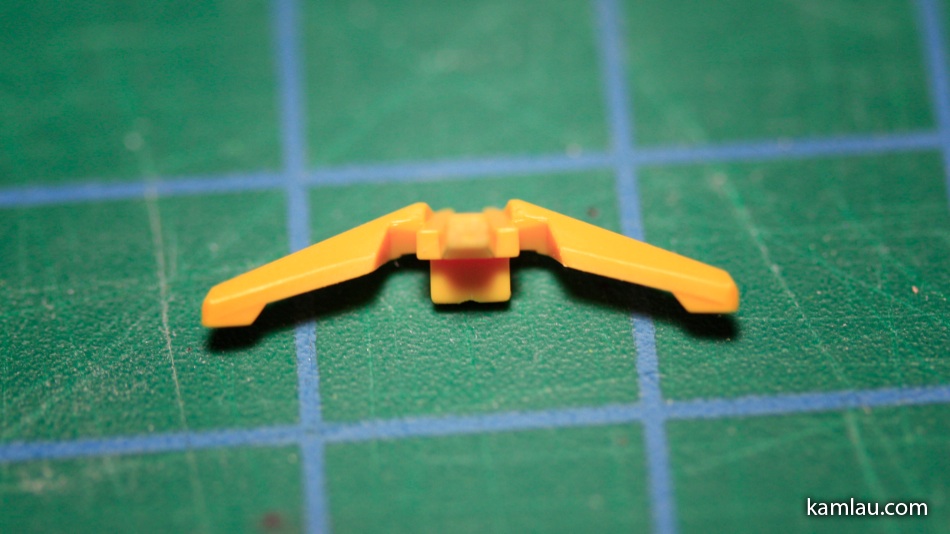
Next item is the antenna. All High Grade kits come with antennas that are a bit bulky looking, especially the ends are usually thicker for some reason.

So here I go filing it down…
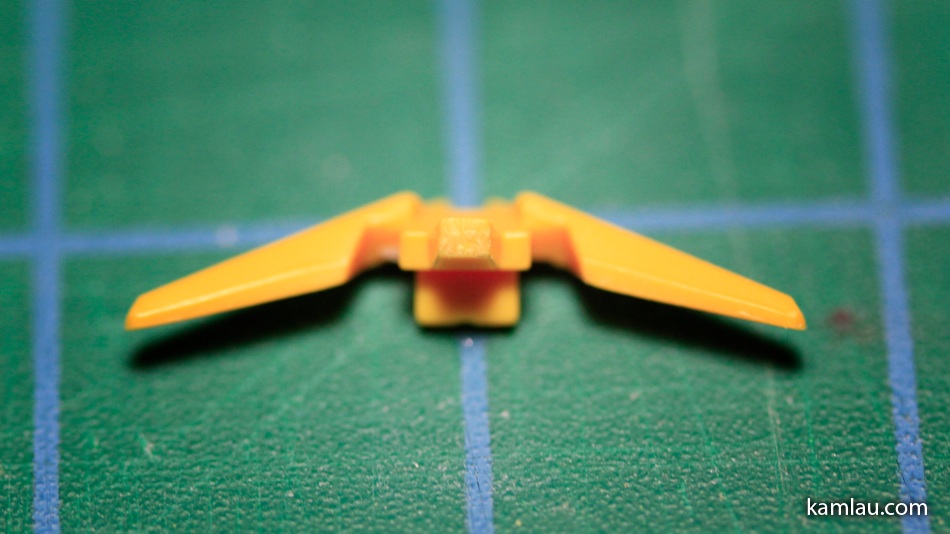
…one side at a time.
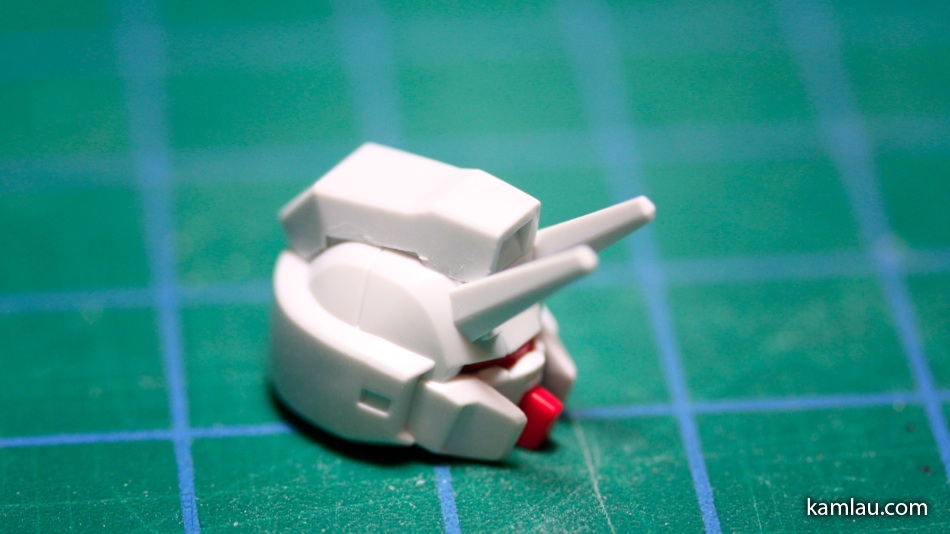
Time to assemble the head unit.
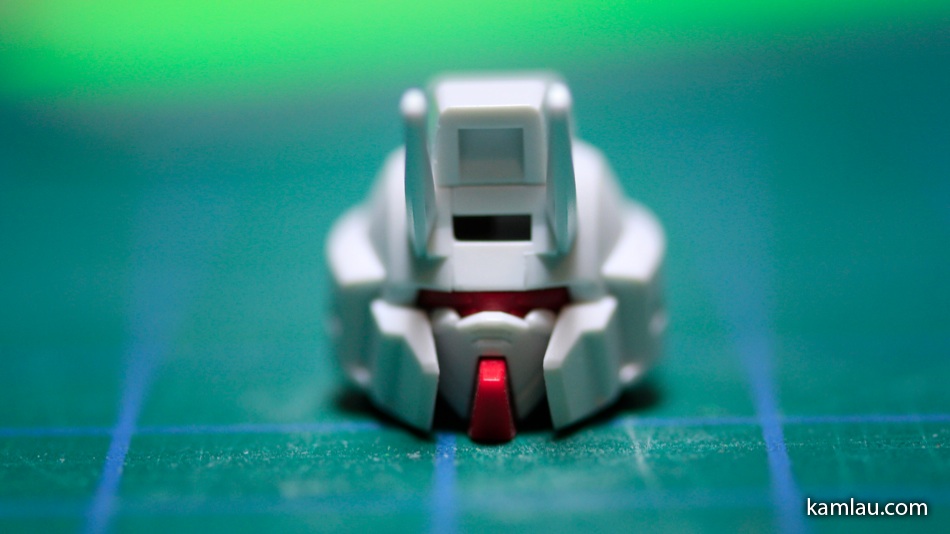
I still think the part that sticks up from the face can be smaller.
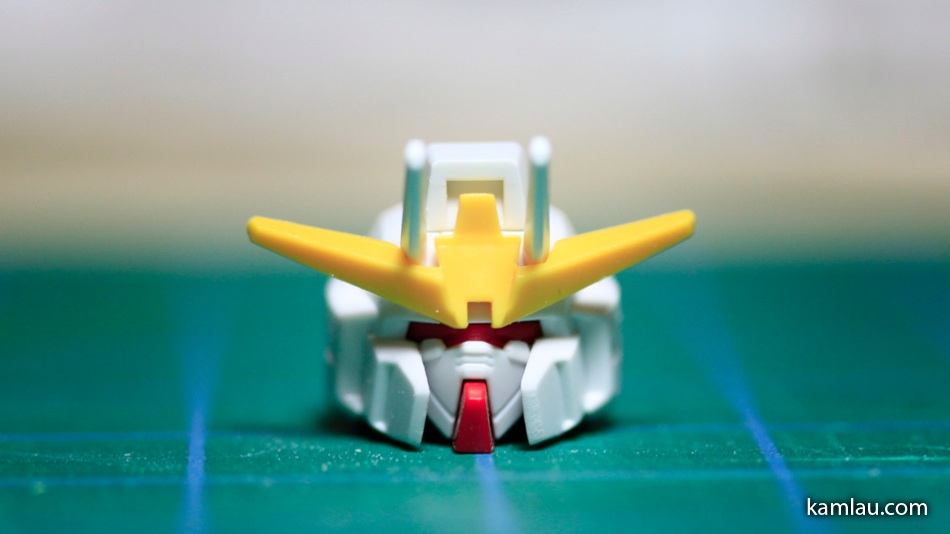
With the antenna attached. Looking okay so far…
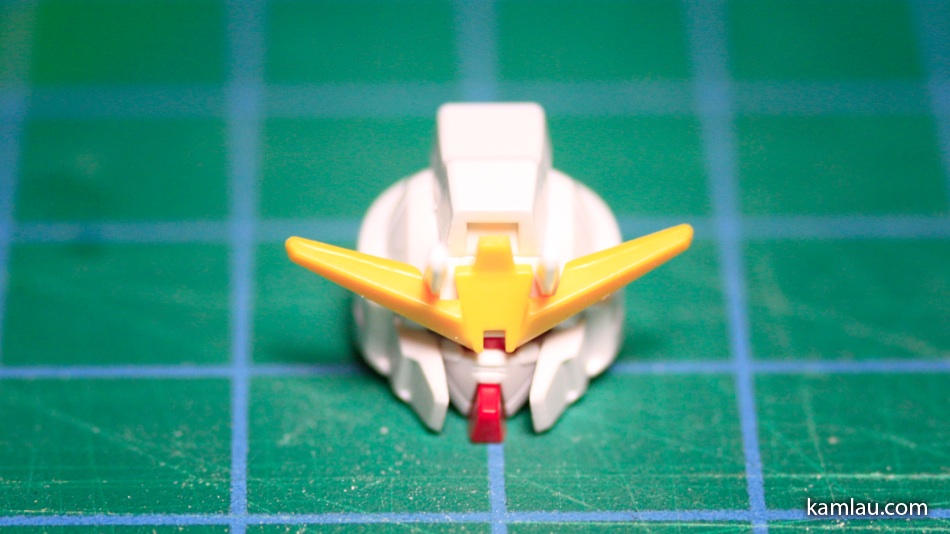
Another angle of the head. I am leaving the shiny red part that goes in front of the antenna unattached until the head is painted.
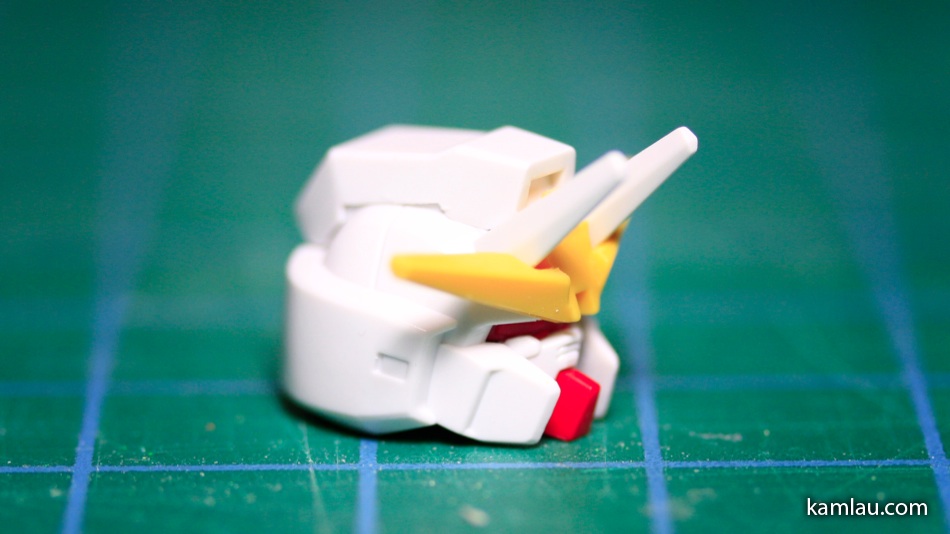
Side view… Looks like it can use some more detail…

I added an extra panel line to the side. Been a while since I did something like this so it is not very well done.
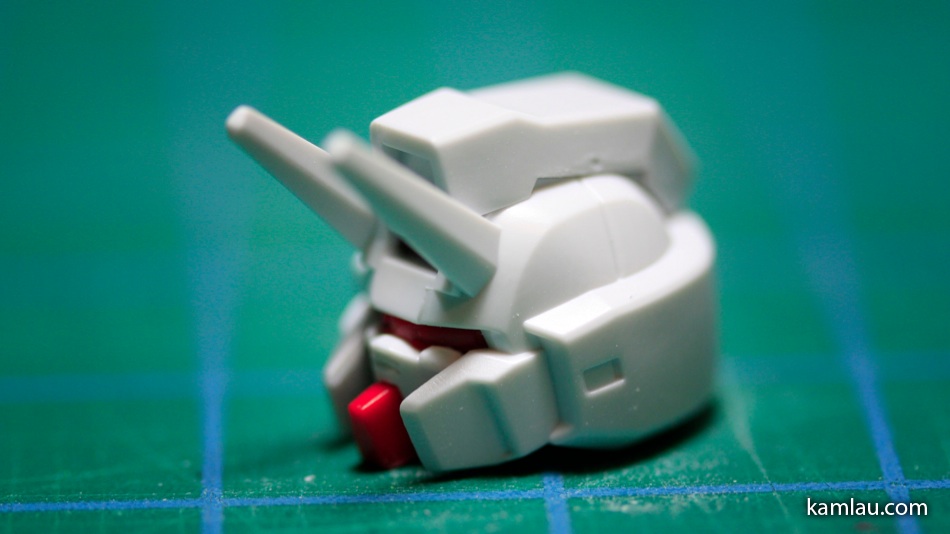
This is before adding the panel line.

After the first panel line on the left side, making the second one on the right side seems to be a bit easier.
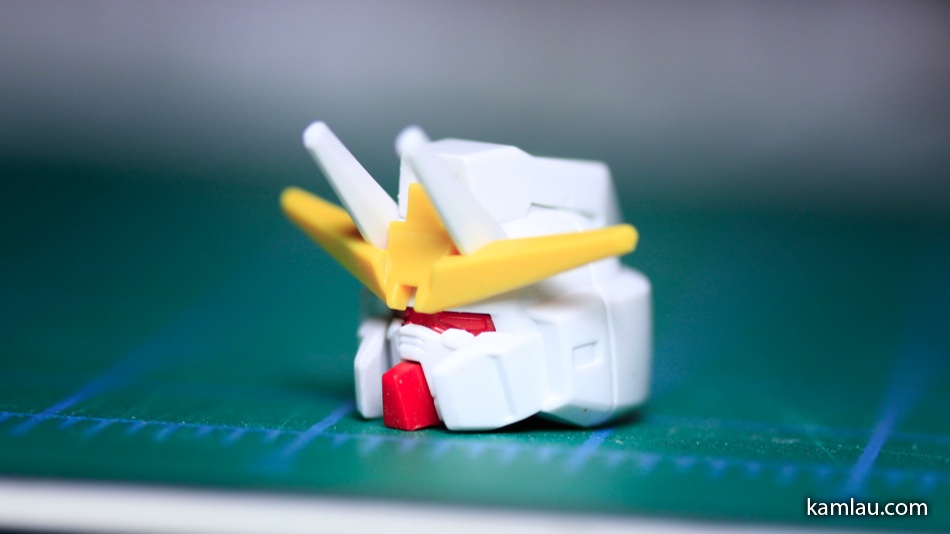
Again, the left side view with the antenna attached.

I did need to use some tools to help me with creating the panel line. Apart from something straight like a steel rule and a knife, I have a little vice to hold the head in place, and a magnifying glass, which I borrowed from my wife, to help me see. Without the magnifying glass, I don’t think I can work on something so small.
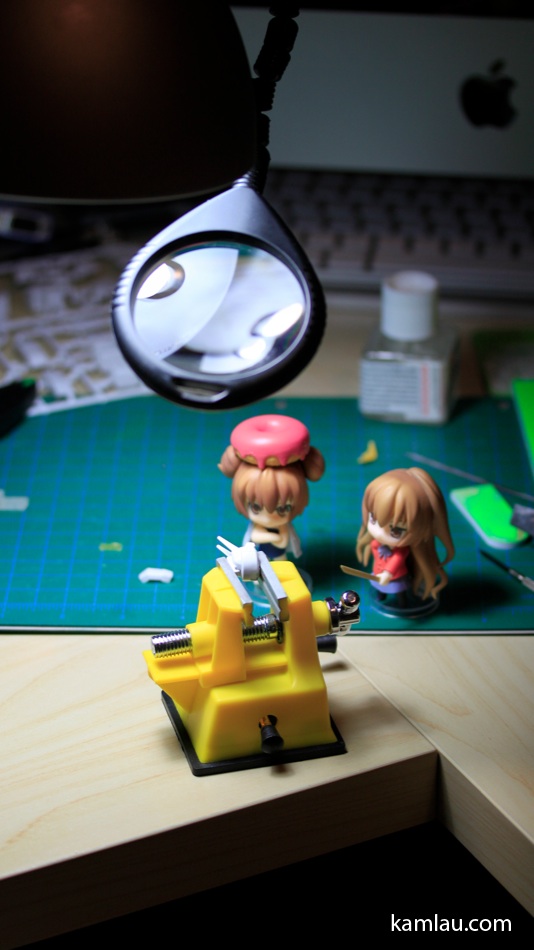
While I was taking this picture, Taiga came to visit ^^;

Next is the body. The body is a lot easier to work on as it has most of the details from the sketches already.
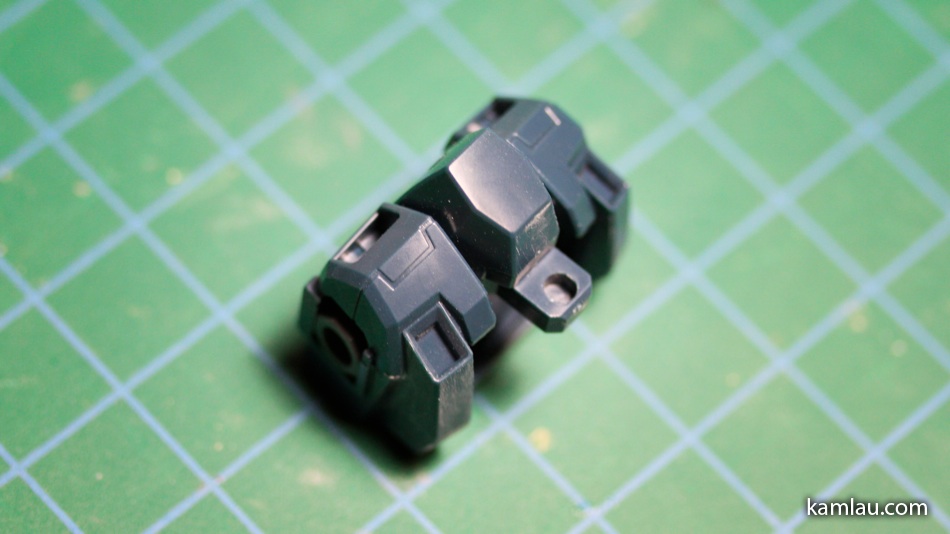
There is a seam line on the side of the body that needs some cover up. I use extra cement to bond the front and the back of the body pieces and file down the excess cement after it dries.

Snapped on the red piece…

Then attach the white piece.

This is all I am doing tonight. Will have to restart again soon. I will continue to document the progress of this High Grade Seravee Gundam.
![[KL]-1 kamlau.com](http://kamlau.com/wp-content/uploads/2016/03/KL-1.png)
![[KL]-2](http://kamlau.com/wp-content/uploads/2016/03/KL-2.png)


Nice work laogong XD hope the Taigas did not cause trouble lol
.-= Chun´s last blog ..Cats and cooking =-.