HG Seravee Gundam – Part 5
Some more work in progress update of my HG Seravee Gundam. As mentioned last time, I like to beef up the shoulder armors without making the Seravee Gundam wider than it originally is. So here is how it is turning out.

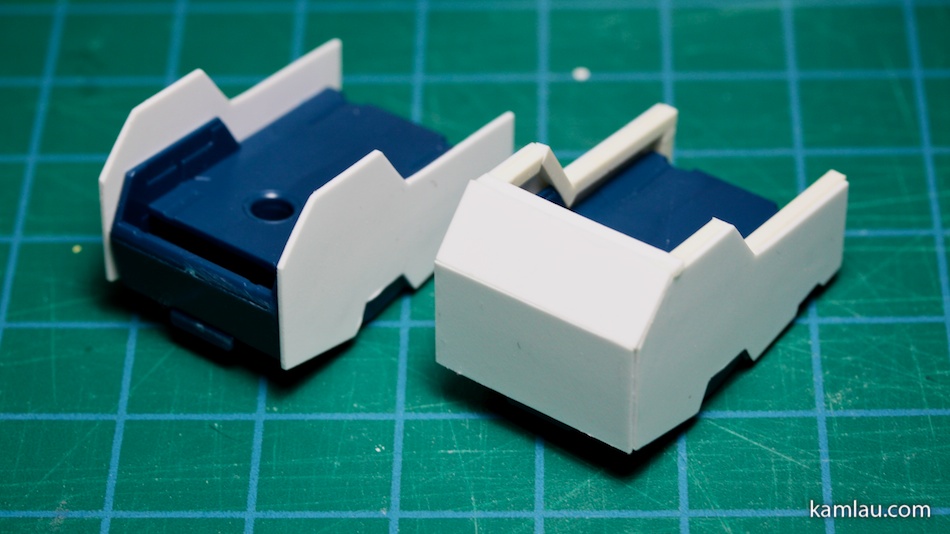
From last time, I cemented a couple of styrene plastic sheets cut to shape to the front and back of each shoulder armor, this time I need to make them more “3D”. The armor on the left has not been “enhanced”, and the armor on the right is work in progress.

The first step is to cut some square plastic sticks and cement them to the edges of the styrene sheet so that it looks thicker, as well as allowing more surface area to cement other parts on them.

Once the square plastic sticks are secured, I started to cement other styrene sheets around the armor. The armor on the right is for reference.

Now it starts to look more three-dimensional ^^

I didn’t do much measurement in cutting the square plastic sticks, I am expecting to do more surface work after.

Having a pair of tweezer really helped with locating the parts at the right place. With cement on the parts, you don’t want to handle them with your fingers as you could smear the cement onto other parts, causing more unnecessary cleanup work.

Once the square plastic sticks are secured, I cut another plastic styrene sheet to shape to cover the “holes” under the square plastic sticks.

To finish the bottom part, I used v-grooved styrene sheets to close the bottom and make it more square as opposed to the original pointy shape.

All the “seams” are very rough at the moment, they don’t necessary line up perfectly. I am lazy to measure and cut everything to perfection knowing that I need to do some surface work after anyway.

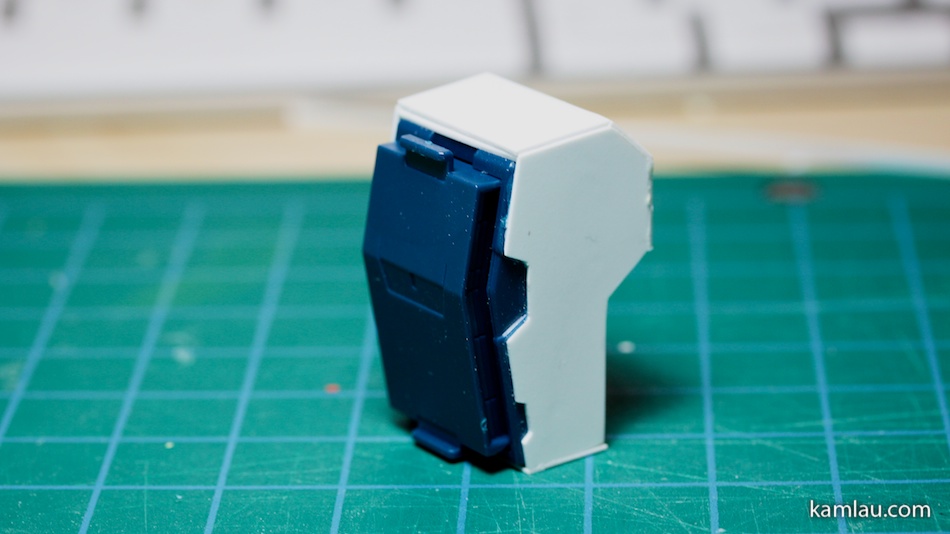
Here is what it looks like from the outside. I made it such that the original movable part still maintains its function: it can expand “to emit the GN particles” ^^;

A quick comparison to a photo taken last time, I hope I am achieving what I set out to do :)

After finishing one armor, here I am repeating the same steps for the other armor.

Again use a styrene sheet cut to shape to cover the “holes” under the square plastic sticks.

The second one is almost done.

Compared to the first one. Note that the v-grooved styrene sheet is propped up by the same square plastic sticks as well.

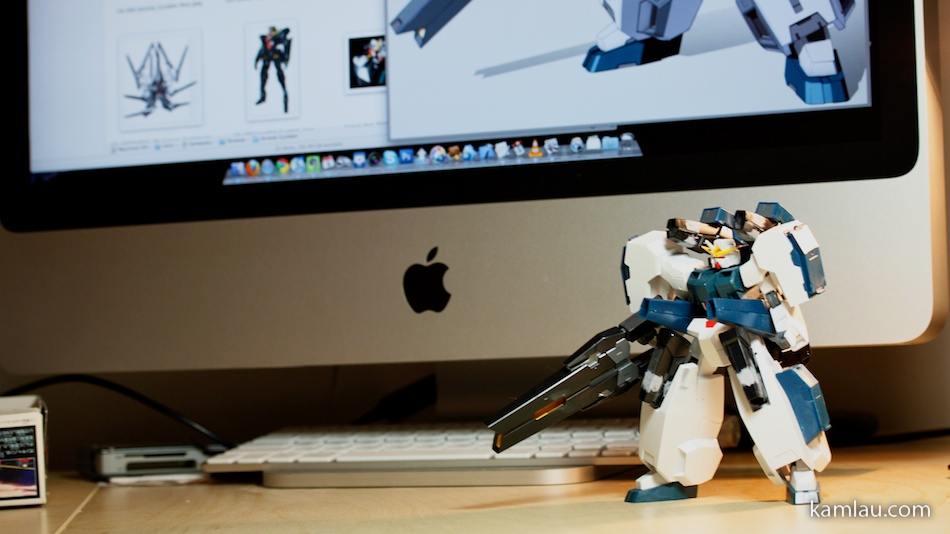
Ok, fast forward to having Seravee Gundam assembled again with the new shoulder armors.

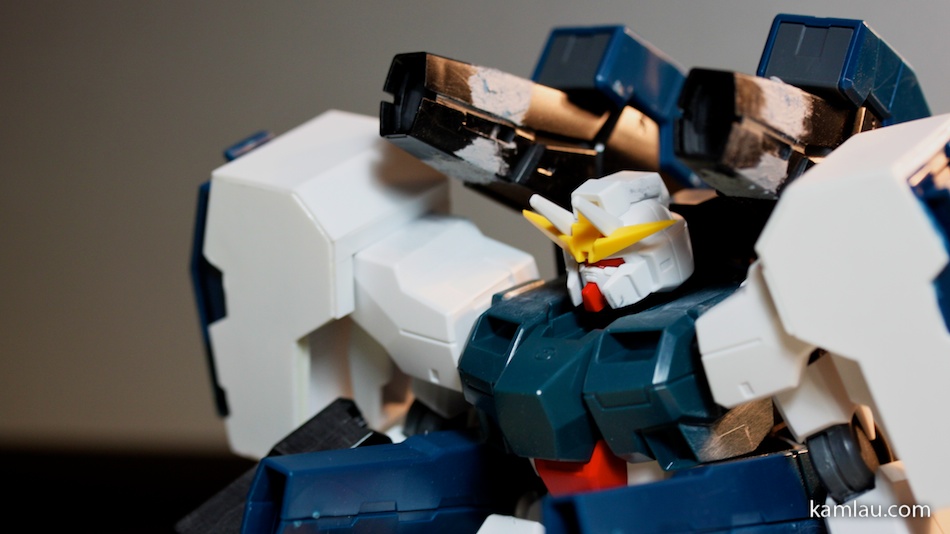
Take a closer look. There is not much clearance between the shoulder and the armor. Make note that paint could be scratched as a result =_=;

Have to wait until the cement is completely set before doing more work on it. Currently, the armor surface looks pretty plain. Have to think about adding some more detail.

I got putty on the arms of Seraphim as the seam is very misaligned and there is no other way to hide the seam line other than applying putty.

Much more work still to be done before I can start airbrushing it. Must have patience….

So far I am pretty happy about how the shoulder armors turned out.

Here is where I got the idea from. I hope when I finished this, it will look somewhat close to the sketch ^^
The image was originally obtained from http://gundam.wikia.com/wiki/GN-008GNHW/B_Seravee_Gundam_GNHW/B
![[KL]-1 kamlau.com](http://kamlau.com/wp-content/uploads/2016/03/KL-1.png)
![[KL]-2](http://kamlau.com/wp-content/uploads/2016/03/KL-2.png)


Wow.. looking forward to the finished kit.
.-= samejima´s last blog ..WIP: HGUC ReZEL DONE! =-.
Thanks, I am taking my time for some reason…. But I promise I will get there.
ah, the square hollow tube, I also use that, very nice to fill the gaps
hahaa, ya I am using materials I got from almost 10 years ago… when they run out, I have to find where I can get them again. Don’t seem to see scratch build materials being sold locally in too many places. May have to go on the net for this kind of stuff now.
Patience is the key, I learned that the hard way in the beginning. I’ll be looking forward to seeing the progress of the Seravee. That sketch of the Seravee is pretty impressive.
.-= Otaku Surf´s last blog ..Cross Game Series End: An Unlikely Anime for a Gundam Fan =-.
Real awesome WIPs man.. Makes me feel motivated on working on my backlogs xD
Btw.. What tool did you use for making that panel line on the head? A typical scriber?
Thanks Arein, I used just a modeling knief. Not the best tool because one can easily cut himself with it… I haven’t found a scriber that works for me yet.