Mediasonic USB 3.0 RAID Enclosure
I have been considering adding more storage to the Mac Mini to turn it into a media server. The Acer h340 easyStore Home Server only has a first generation Atom processor and is doing fine as a file server, but not a media server, especially for 1080p MKV videos that requires real-time transcoding in order to be playable on the iPad. Since the Mac Mini does not have an eSATA connector, the Sans Digital TowerRAID drive enclosure won’t work. So I was thinking about a USB or a Firewire based enclosure.

After considering a couple of options, I finally decided to give Mediasonic’s product a try. From the manufacturer’s web site, it says:
Mediasonic HFR2-SU3S2FW ProRaid is a 4 Bay Enclosure for 3.5″ SATA I / II / III hard disk drive. It has hardware embedded RAID to support RAID 0 / 1 / 3 / 5 / 10.
What this means is the RAID controller is built-in to the enclosure and it is not a software RAID solution. It has quad interface – USB 3.0 (backward compatible to USB 2.0 and 1.0), eSATA, FireWire 400 and FireWire 800. Connectivity options are plentiful!
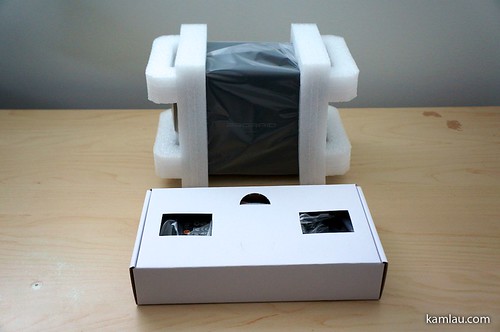
The unit is relatively well packed. The drive is well protected, and a box will lots of cables are provided.
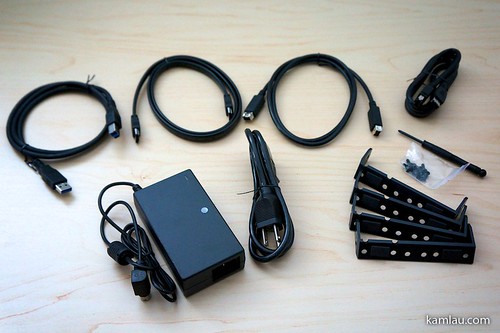
Inside the white box are all the necessary cables for the quad interfaces, as well as some hardware for mounting the hard drives, and an external power adaptor.
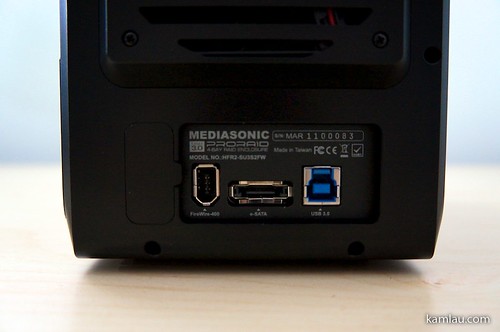
As for the enclosure, the back has 3 interfaces (USB 3.0, eSATA and FireWire 400).
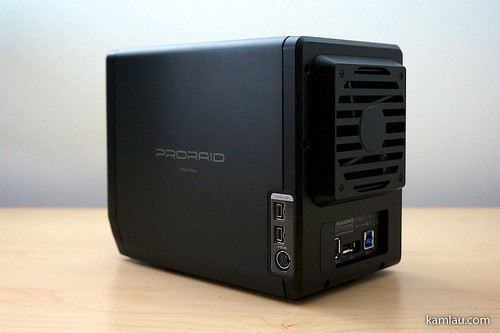
The side has 2 FireWire 800 connections, as well as the power adaptor input. The side connection design is not my favourite. Mediasonic has been using this design for a while and I am not sure exactly why it would be that much more difficult to put all the connection ports on the back.
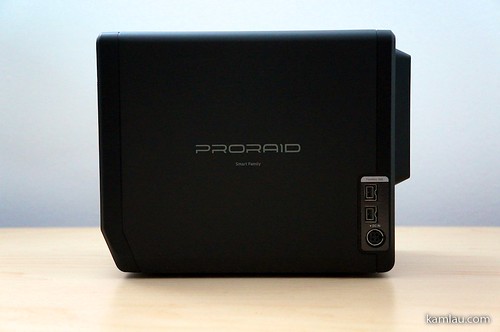
Another side view.
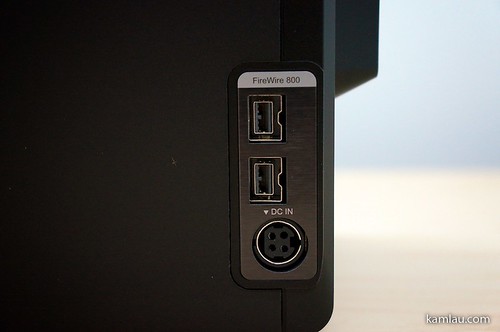
More detailed view of the ports on the side.
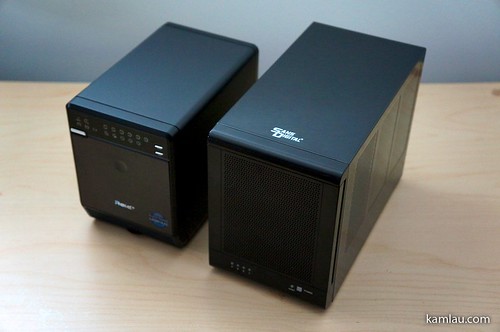
Compared to the Sans Digital TowerRAID enclosure, the Mediasonic USB 3.0 RAID is a little smaller in size.
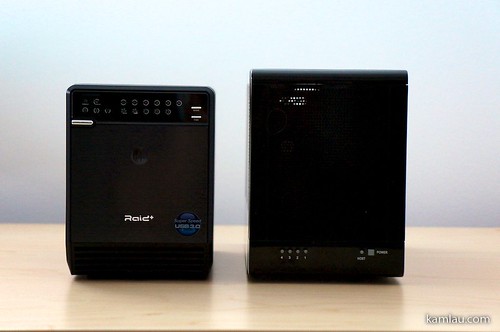
It is slightly shorter and narrower.
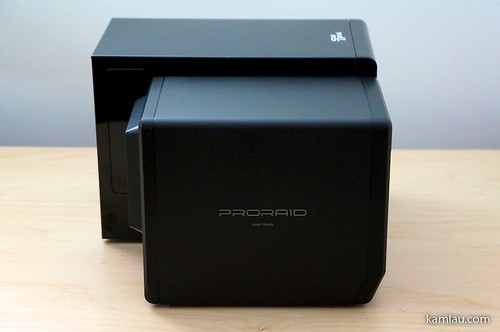
It is also not as deep length-wise.
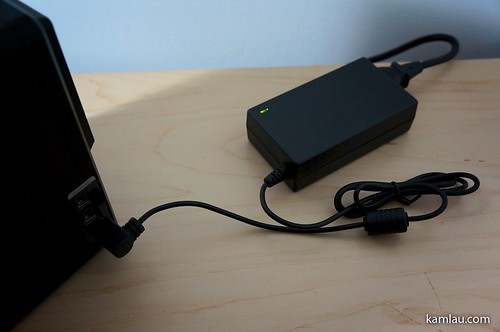
Though, the shorter length is mainly because the Mediasonic enclosure has an external power adaptor.
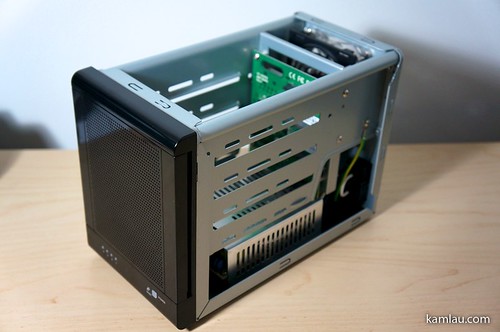
The Sans Digital TowerRAID has the power adaptor enclosed at the bottom of the enclosure. As for construction, the Sans Digital TowerRAID enclosure is made of sheet metal and plastic. Drives are secured using thumb screws (2 for each drive).

The Sans Digital TowerRAID is simple but it is well thought out.
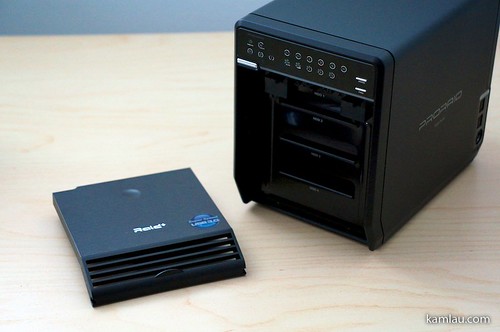
The Mediasonic USB 3.0 RAID enclosure, on the other hand, has a different approach to the enclosure design. The front plastic faceplate folds down and can be completely detached.
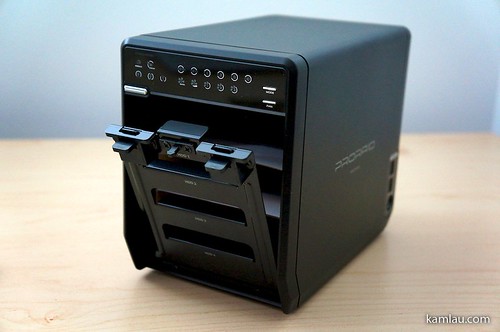
Behind the plastic faceplate is a metal guard that secures the drives inside the enclosure.

The metal enclosure is one piece forged aluminum with black matt paint. It is very strong and adds a very solid feel to the product.
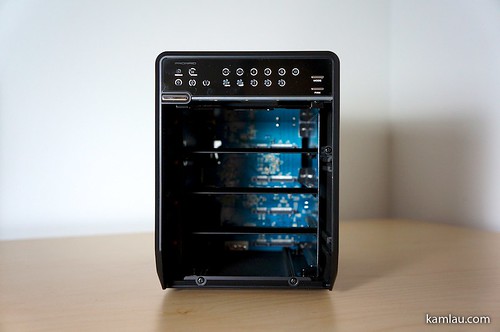
Similar to the Sans Digital TowerRAID, the Mediasonic USB 3.0 RAID enclosure allows you to slide the drives in from the front.
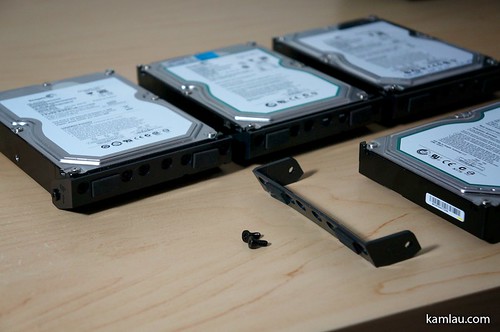
But before sliding in the drives, each drive will need to have one plastic bracket installed. The plastic bracket allows you to remove the drive easily, and it also works with the metal guard to secure the drives. I took the Seagate 1TB drives from the Sans Digital TowerRAID enclosure to test this new unit.
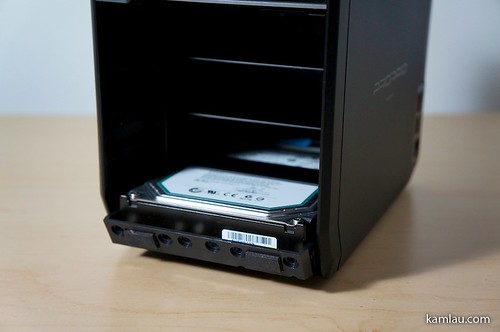
I am installing 4 drives, so the order does not matter. But if you install fewer than 4 drives, you should start from the top.
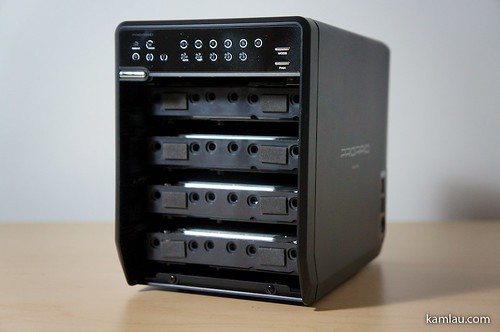
There we have all 4 drives installed.

For simplicity, I am thinking of testing it with my MacBook Air first. Since the MacBook Air only has USB 2.0 and a ThunderBolt connection, I am using the USB 3.0 (backward compatible to USB 2.0) connection from the enclosure to connect to the MacBook Air.
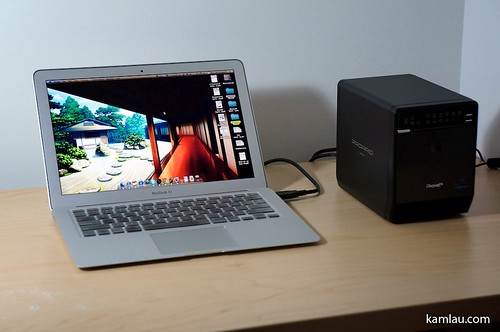
There it is connected. The enclosure is not small, but considering it stores 4 drives inside and comes with a RAID controller, it is not too bad. It would have been nice if I could find a similar product for the smaller 2.5″ drives so that it takes up less desk space :)
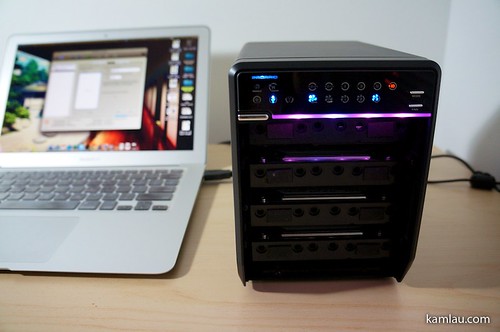
When I first started the drive, all 4 hard drives spun up, but then the enclosure had some problems recognizing the drives and it powers them down after 10 seconds. After fiddling around a bit and changing the order of the drives, it didn’t seem to help. So what got it going was:
- Ensure it is connected to the computer and power it up.
- Press the Mode button for 3 seconds and then switch to a mode that is allowed for the number of drives installed, for me I switched to RAID 10.
- Press the Mode Confirm button (located at the back of the drive) for 3 seconds until the unit shuts down.
- Power up the enclosure again.
That got it going for me.

Next, I started Disk Utility in OS X and it recognized right away that there is a 2 TB drive attached (RAID 10 halves the available drive space). So I partitioned it to have 1 partition (not recommended to have more than one partition), and formatted it using Mac OS Extended (Journaled) file system and that took about 1 minute.
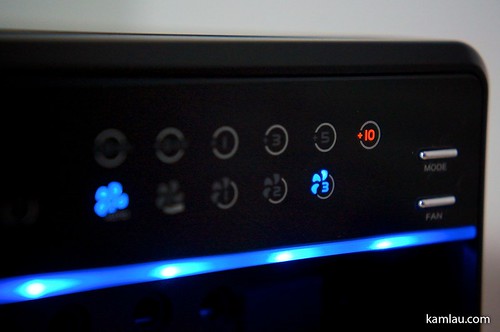
I am going to do some testing and will be reporting my findings later. One thing that is also worth mentioning is that the fan speed can be set at Auto. The thermal sensor inside the drive will speed up the fan when needed and I think that is a nice feature to save a little energy and to reduce fan noise. I did try to switch to manual override and tried all 3 fan speeds. The fastest speed produces quite a lot more noise.
Hopefully, this enclosure will work well. As for the price, I got it from NCIX for C$250 including tax. A comparable product would be a Drobo and it would be around C$340 including tax. The Drobo is more expensive and has only two connections (USB 2.0 and FireWire 800). But the Drobo is supposed to be very flexible and you can use drives of different sizes to build the array. The reason I didn’t get a Drobo is because I read it is not very fast. And I like the fancy connection options with the Mediasonic drive enclosure :)
Next I am going to try switching RAID modes and see what kind of performance the Mediasonic USB 3.0 RAID enclosure can produce. Stay tuned!
![[KL]-1 kamlau.com](http://kamlau.com/wp-content/uploads/2016/03/KL-1.png)
![[KL]-2](http://kamlau.com/wp-content/uploads/2016/03/KL-2.png)


Leave a Reply
Want to join the discussion?Feel free to contribute!