


Sans Digital TowerRAID TR4M-B and Acer easyStore Home Server
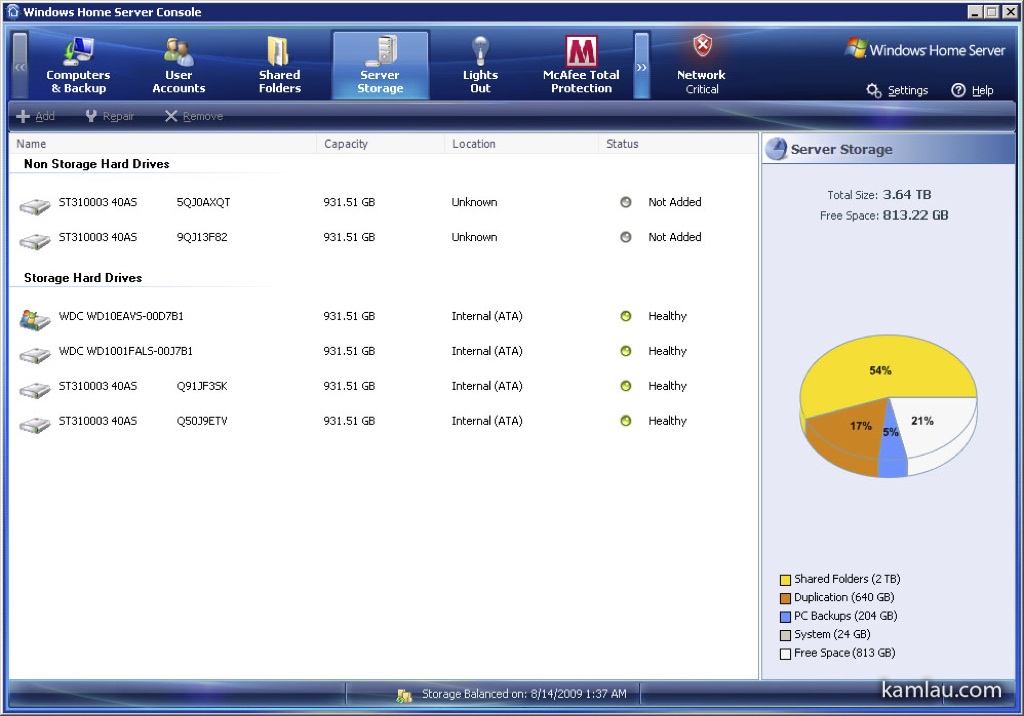
Since I acquired the Acer easyStore Home Server, I have been trying to reorganize my digital library within the server. As the Acer easyStore Home Server came with 2TB of drive space, I quickly added a couple more 1TB drives I used to have with the old homemade Home Server to it to make it a total of 4TB in storage. After migrating all the files back to it, I was left with only about 0.8TB of free space. I was faced with a new decision, either deleting old files or add additional storage to the server.
I decided to add storage as I currently don’t have much time to go through my digital library to purge old files. There is no more internal drive bay available so the only way to add storage is by adding external storage. I was reminded by the unreliable “octopus” setup I had with my previous Home Server and I knew that is not the way to go. After researching a bit online and reading some reviews on wegotserved.com, I decided to give the Sans Digital TowerRAID TR4M-B a try. I got it from NCIX when they had it on sale for C$160.
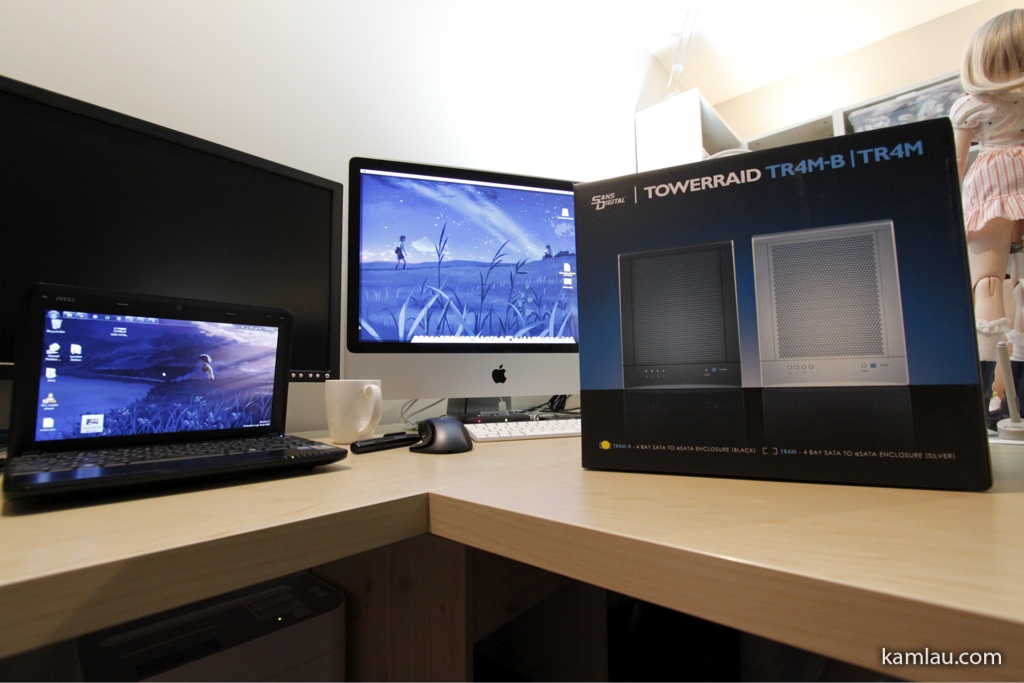
It is available in 2 colors, black and silver. I got the black version as it matches the Acer easyStore Home Server.

The back of the packaging explains some of the RAID configurations. I am not interested in RAID setup at the moment. I am only interested in adding more storage as I can use Windows Home Server to replicate files for me, configurable per shared folder, to increase redundancy.
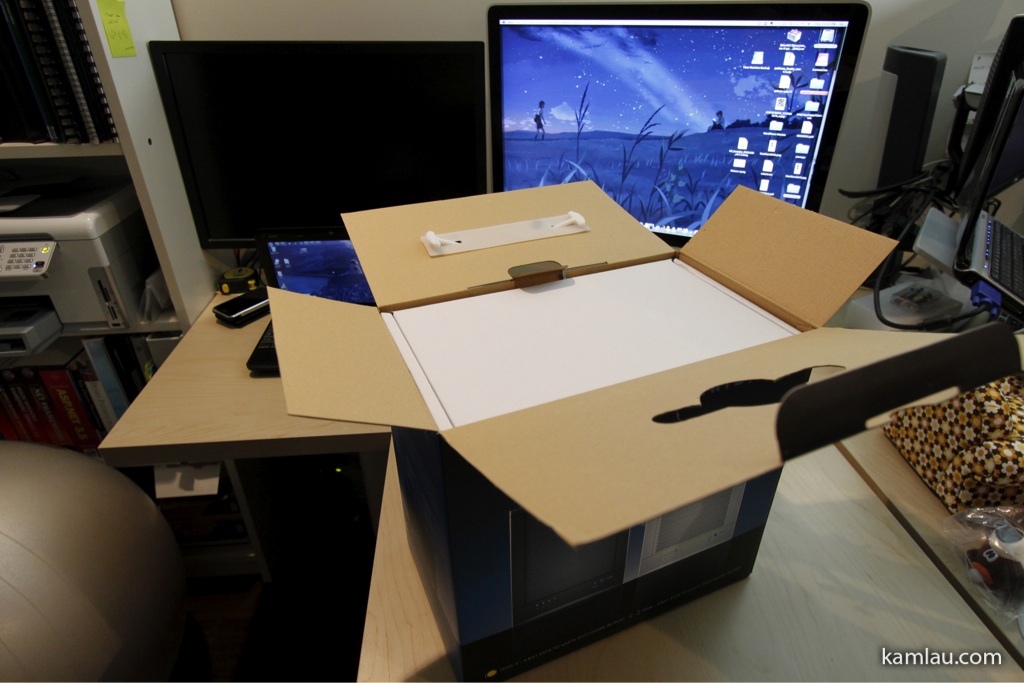
Deboxing the TowerRAID right on my desk. The white box has…
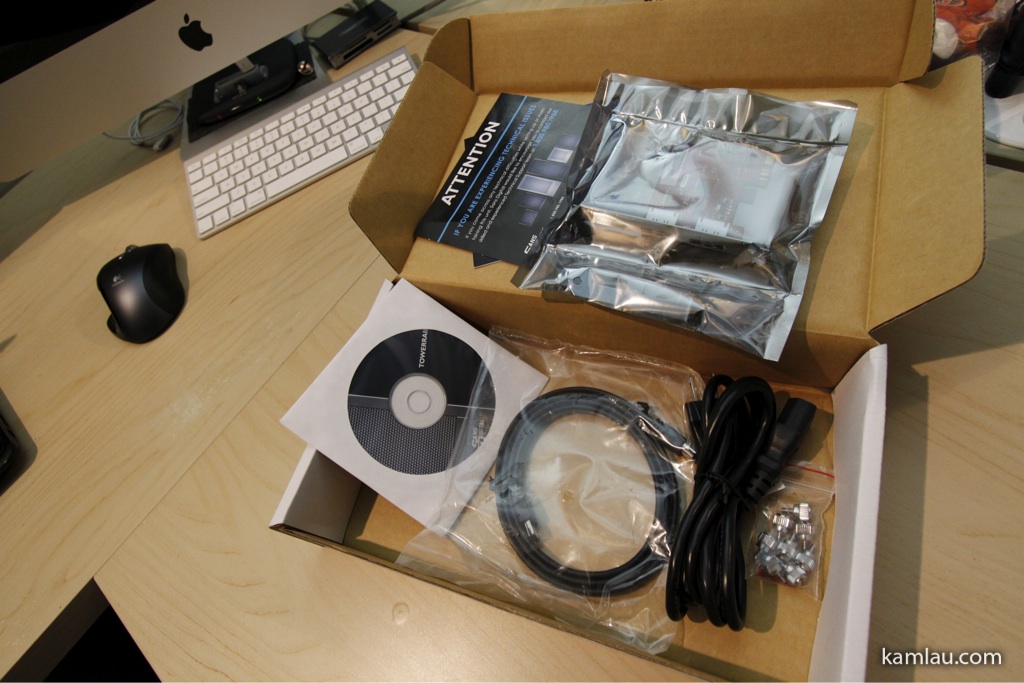
…some documentation, the eSATA PCI-X PCIe port multiplier, an eSATA cable, a power cable, some thumb screws and the software CD. The thumb screws are a nice addition as it makes it a lot easier to install drives without having to worry about a screwdriver.
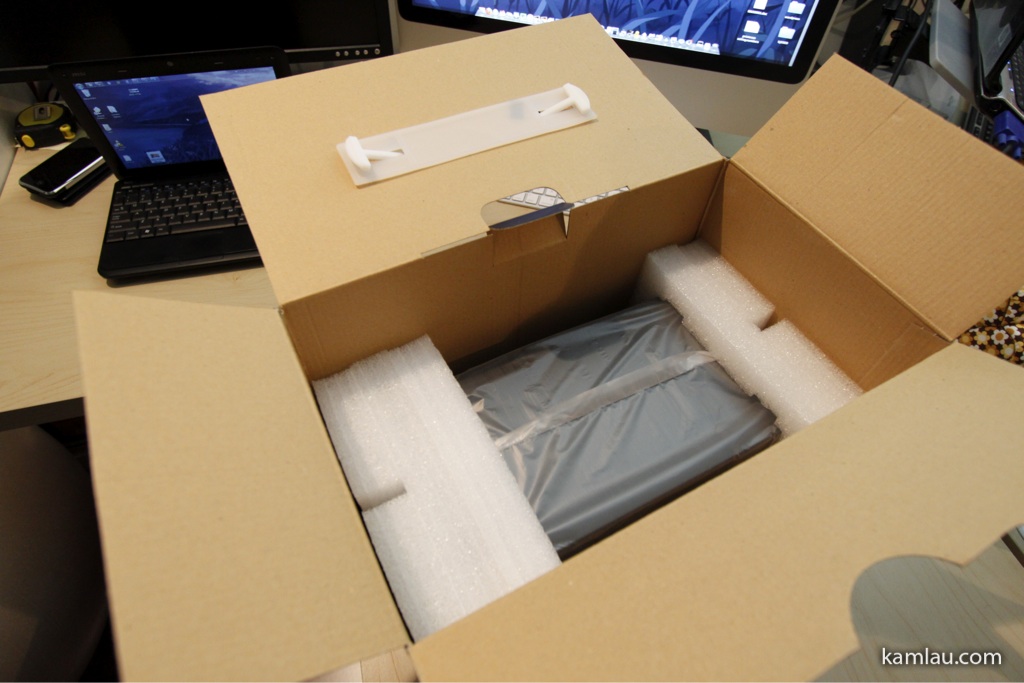
The TowerRAID sits securely under the white box. It is nicely packaged to protect it from damages via shipping.
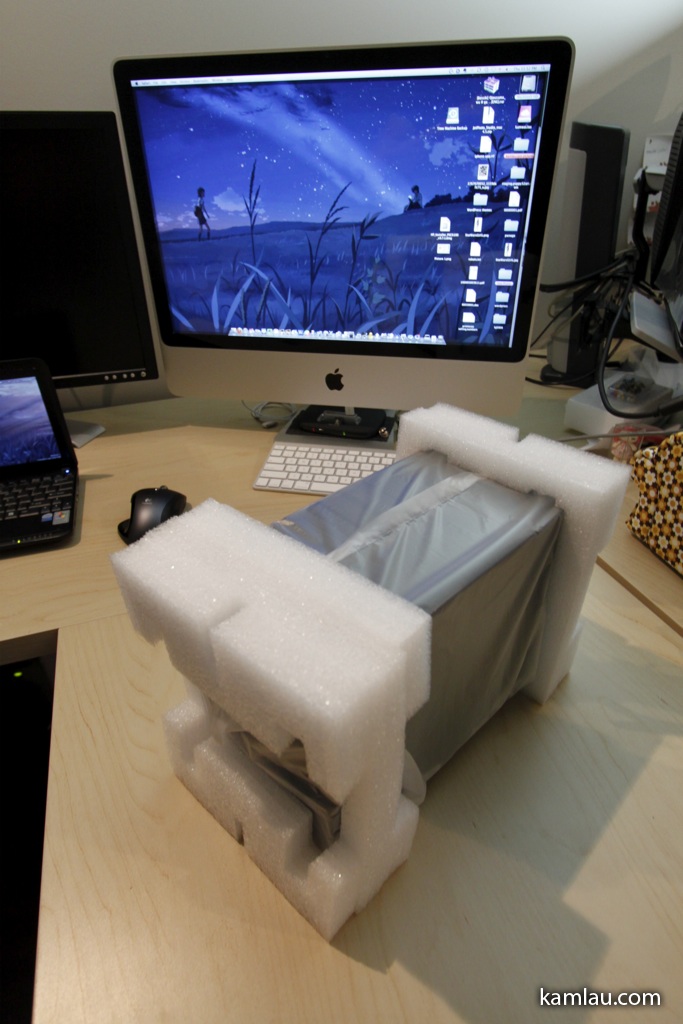
And here is the TowerRAID outside of the box.

And the TowerRAID outside of the packaging. The case is very nicely painted. Almost like piano black all around. It is so shiny that I keep leaving fingerprints on it….
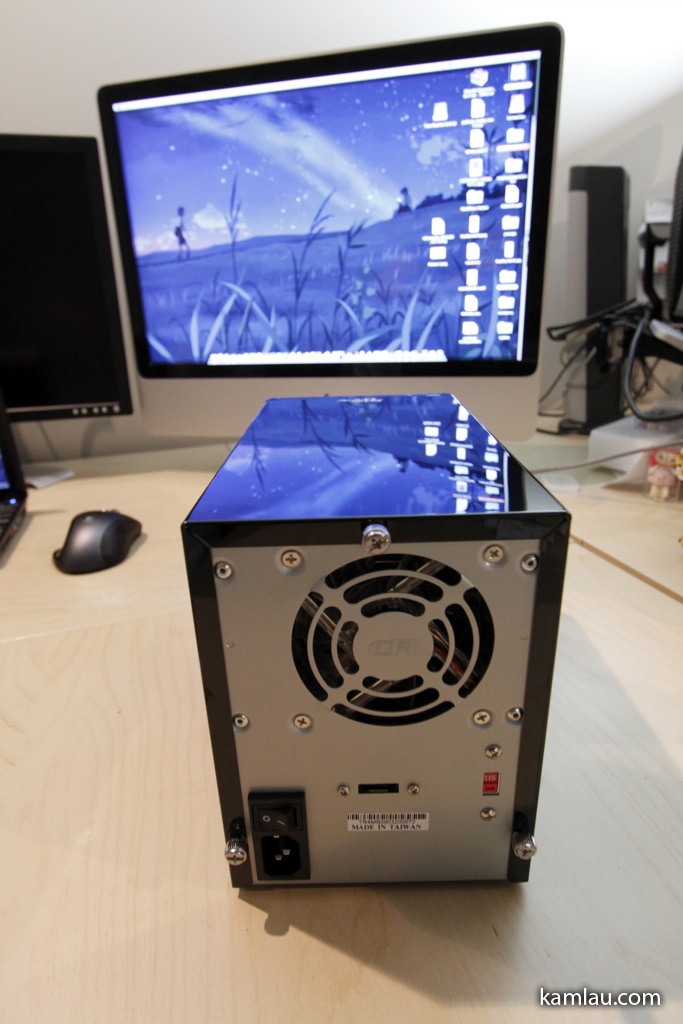
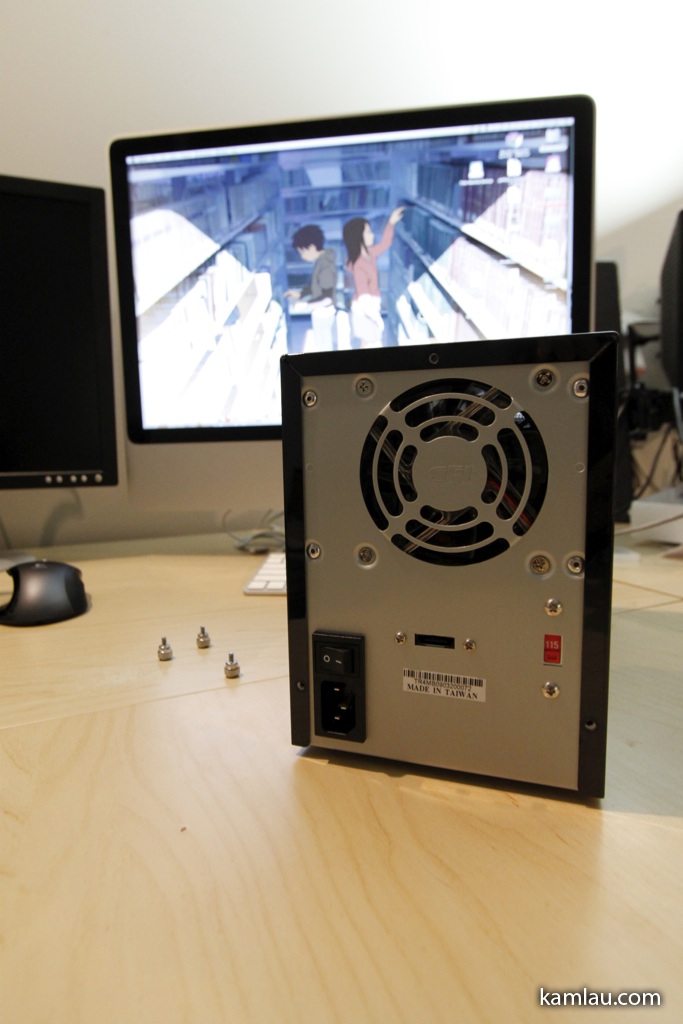
The back of the TowerRAID has a good size fan for air circulation. The black cover is secured to the main case via three thumb screws. There are also a power switch, a regular power connector connecting to the internal power supply, an eSATA connector, and a voltage switch.
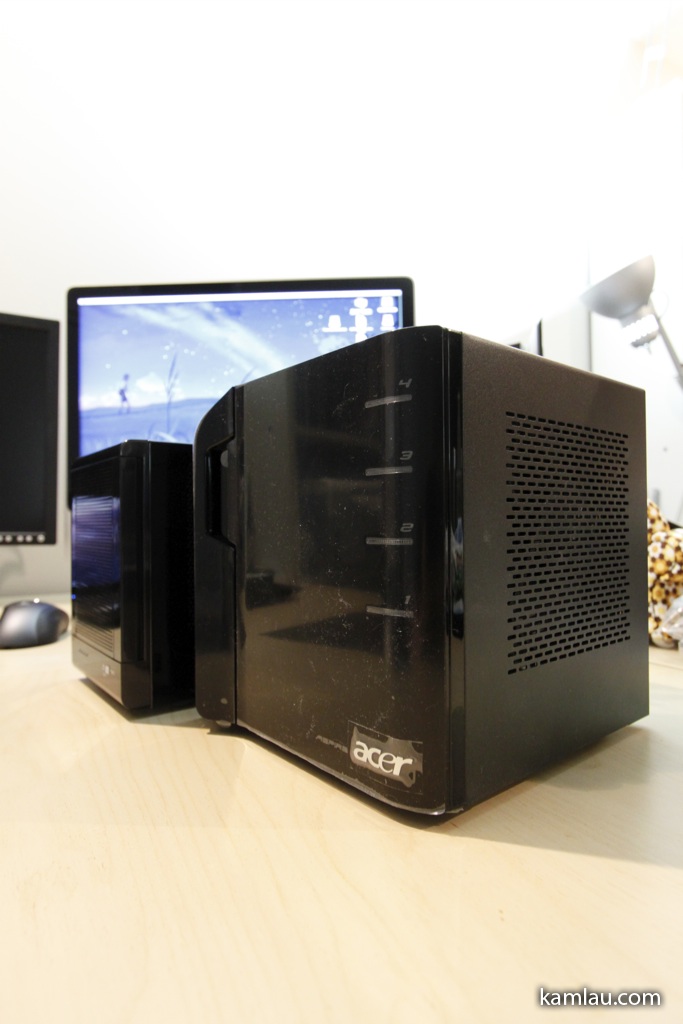
Here is the Acer easyStore Home Server put side-by-side with the Sans Digital TowerRAID.
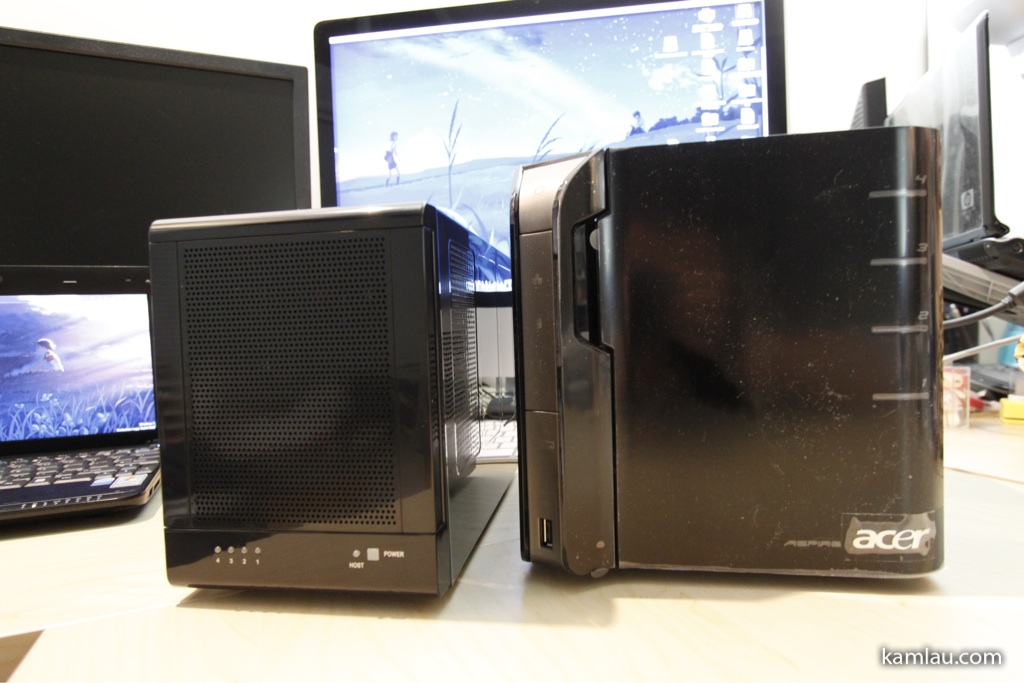
The TowerRAID is a bit shorter, not as wide and a bit longer in length comparing to the easyStore Home Server.

The Acer easyStore, even though it comes with an eSATA connector, does not support port multiplier. What it means is if you have an eSATA enclosure that takes multiple SATA hard drives, and you plug it directly to the easyStore Home Server’s built-in eSATA port, it will not be able to recognize the different drives inside your enclosure. This is where this port multiplier card comes to play.
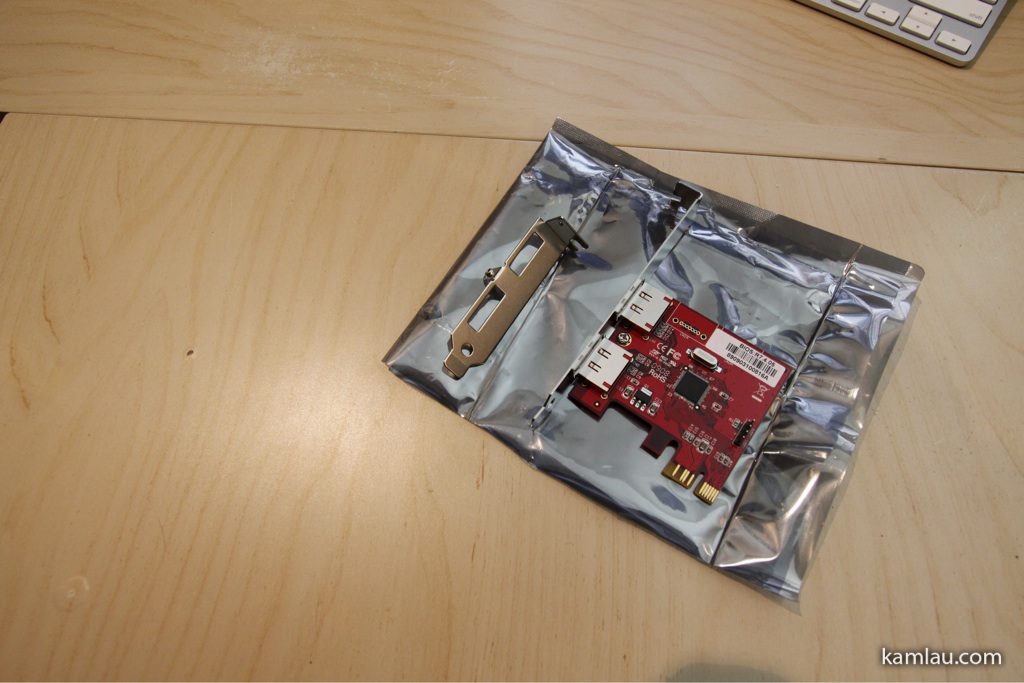
It comes with a regular size bracket for a regular tower case, as well as a short bracket for the small form factor tower case. The Acer easyStore Home Server comes with a small form factor case so switch the bracket is necessary.
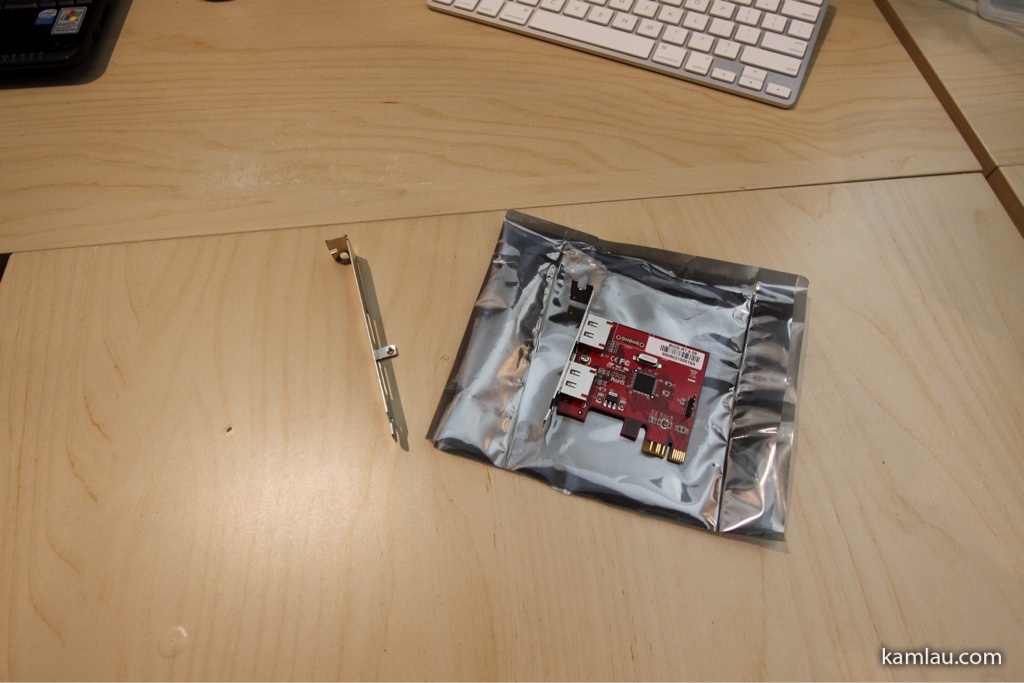
Switching the bracket is very easy, it is secured on the PCB with only one screw.
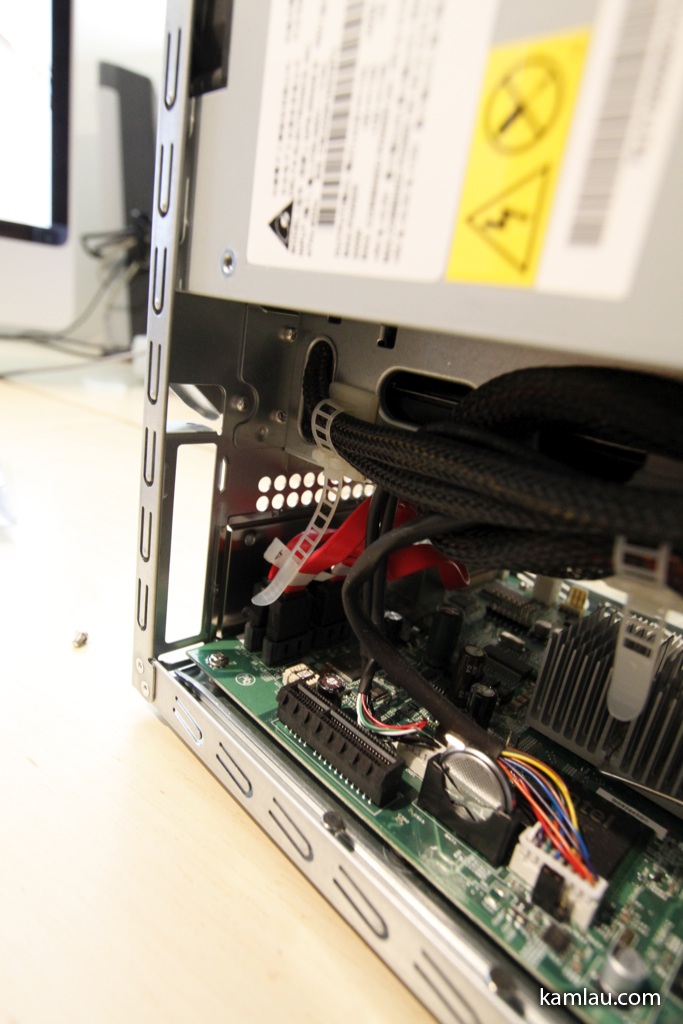
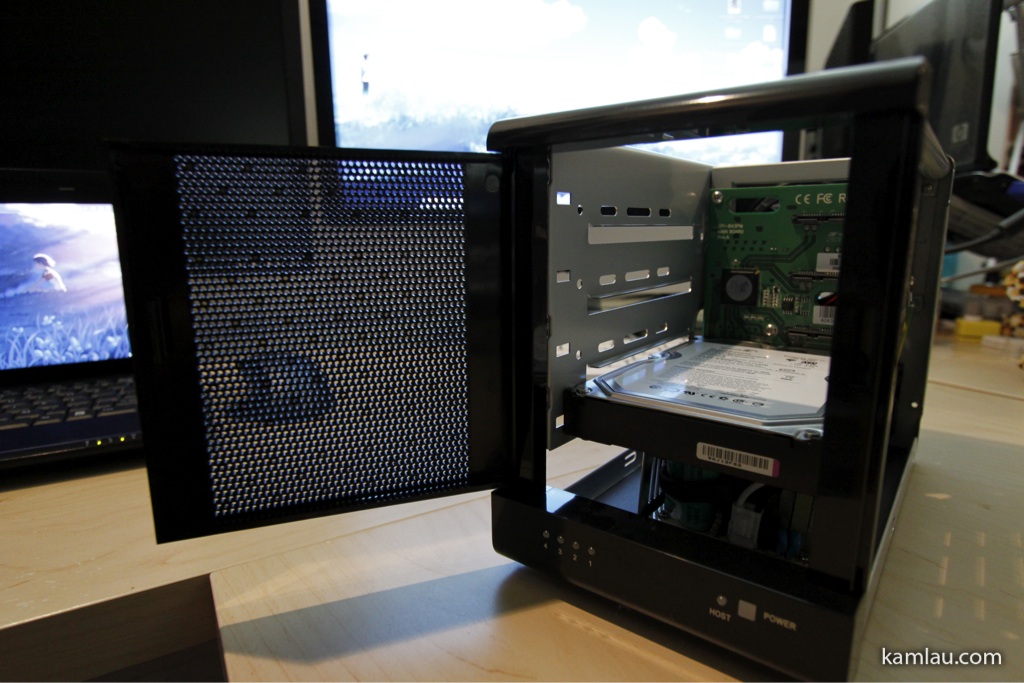
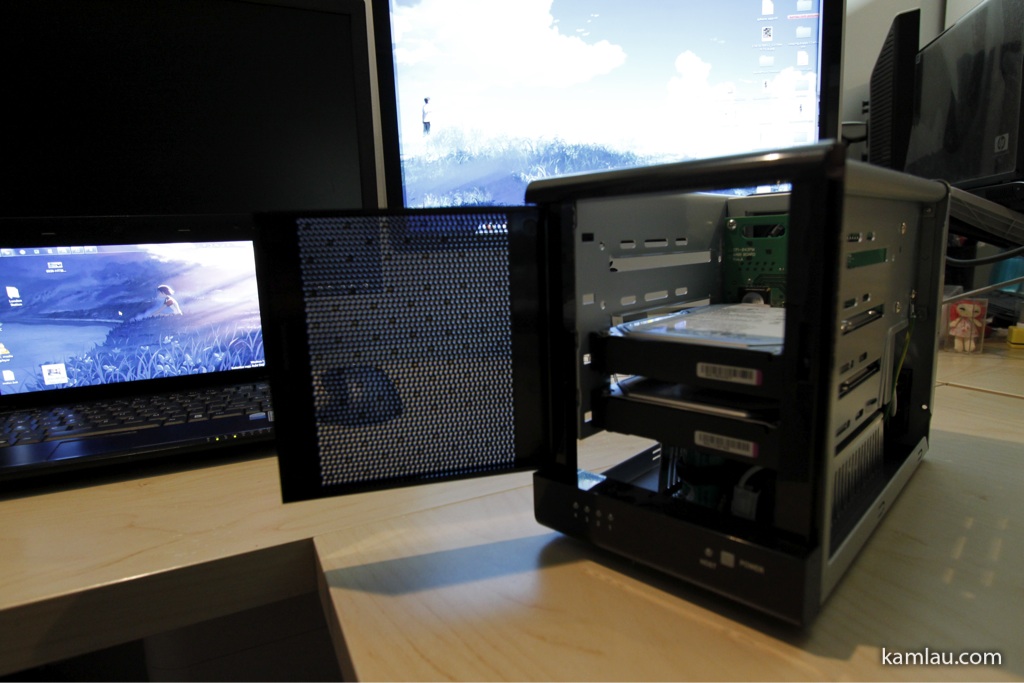
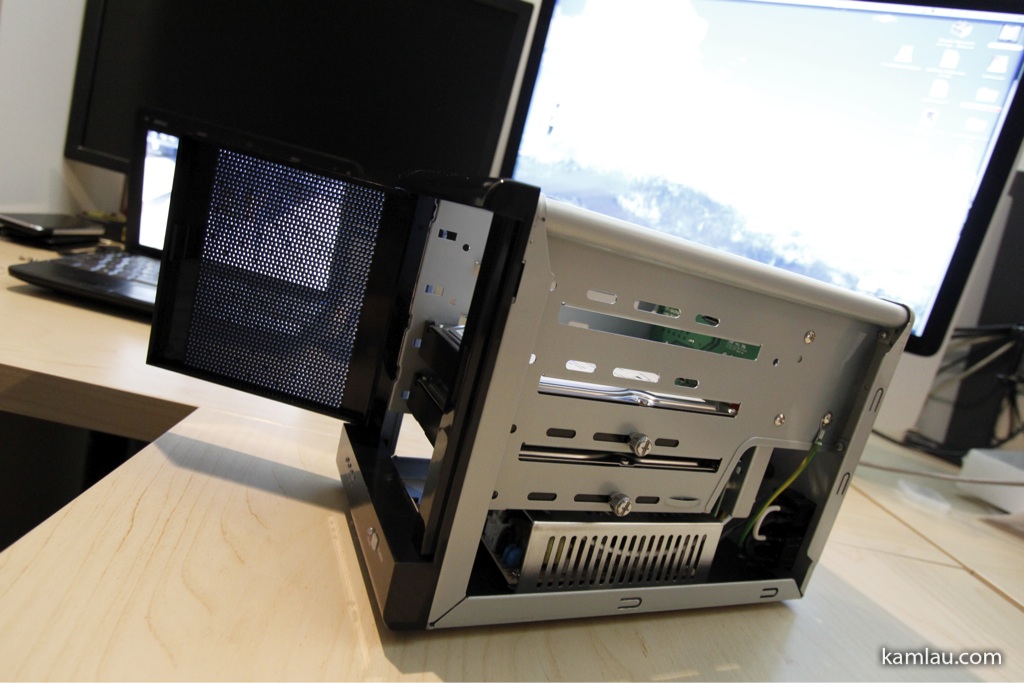
Next, the Acer easyStore Home Server is opened up, the back cover of the slot is removed so that the port multiplier card can be inserted.
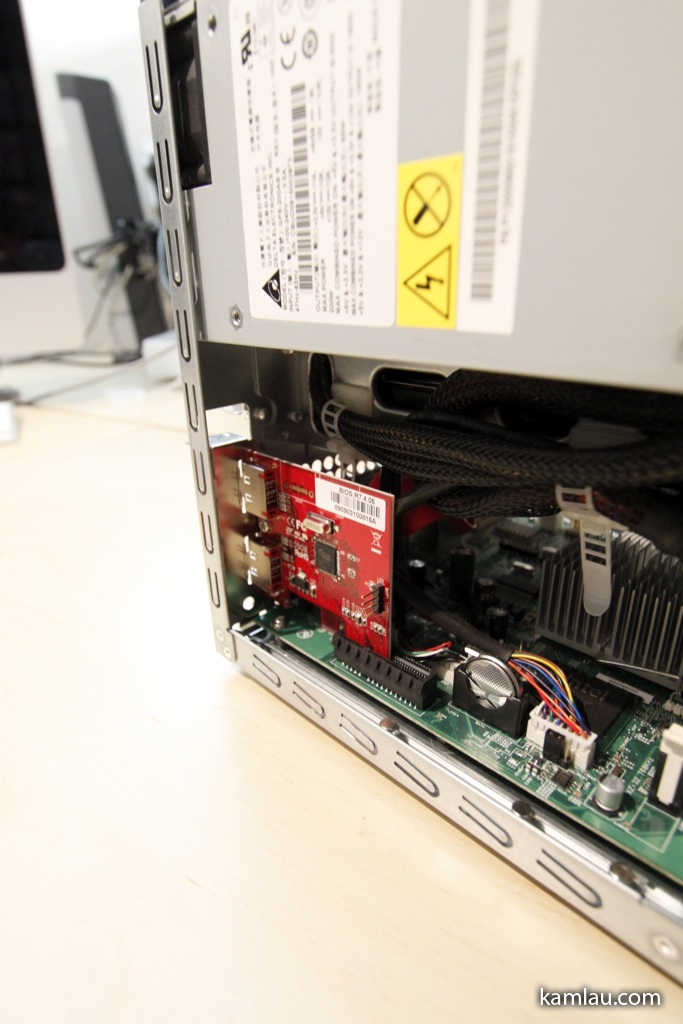
With the card installed, it is a very small interface card.
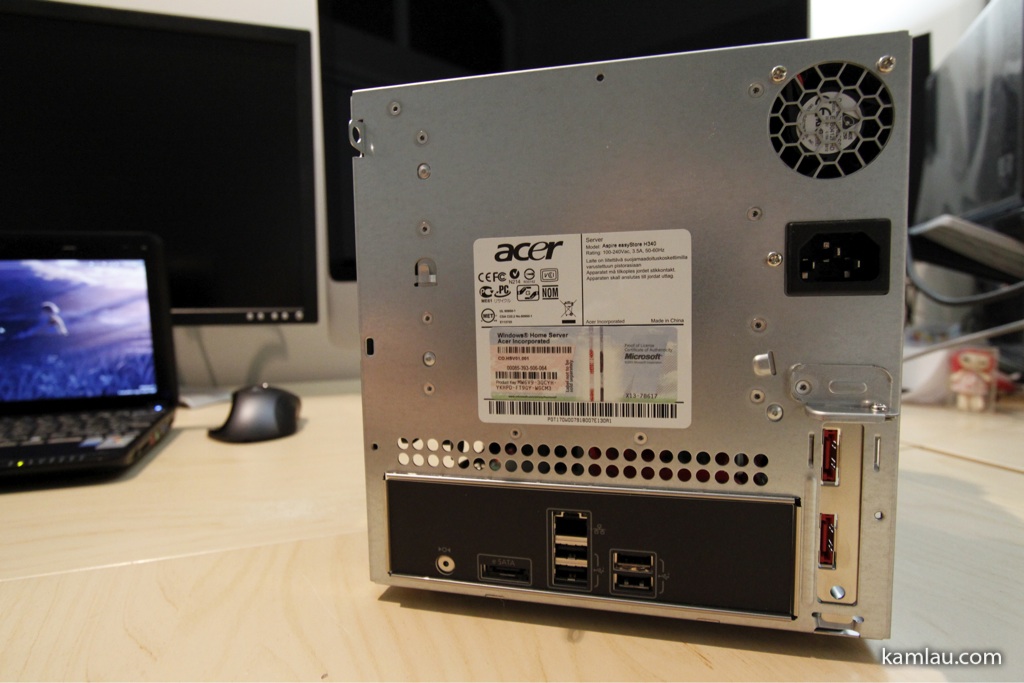
The back of the Acer easyStore Home Server with the port multiplier card installed. The card comes with 2 eSATA connectors. It is capable of supporting two external drive enclosures. Potentially I can add another TowerRAID to my Home Server.
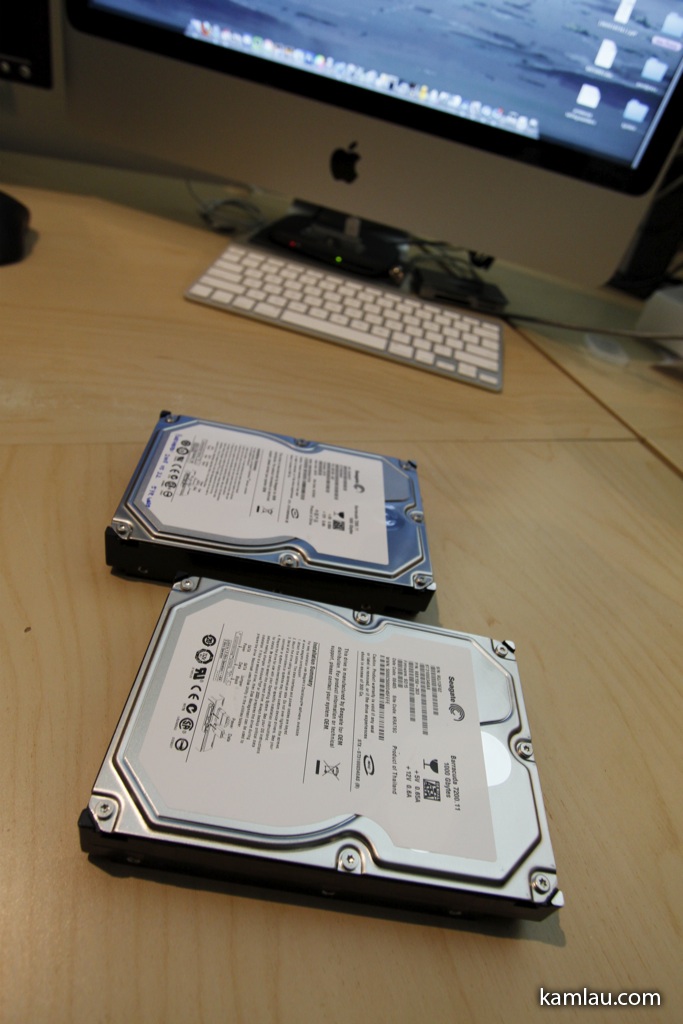
I have 2 additional 1TB Seagate drives available from the old Home Server. Time to make them part of my server storage.
First, unscrew the thumb screws at the back of the TowerRAID case.

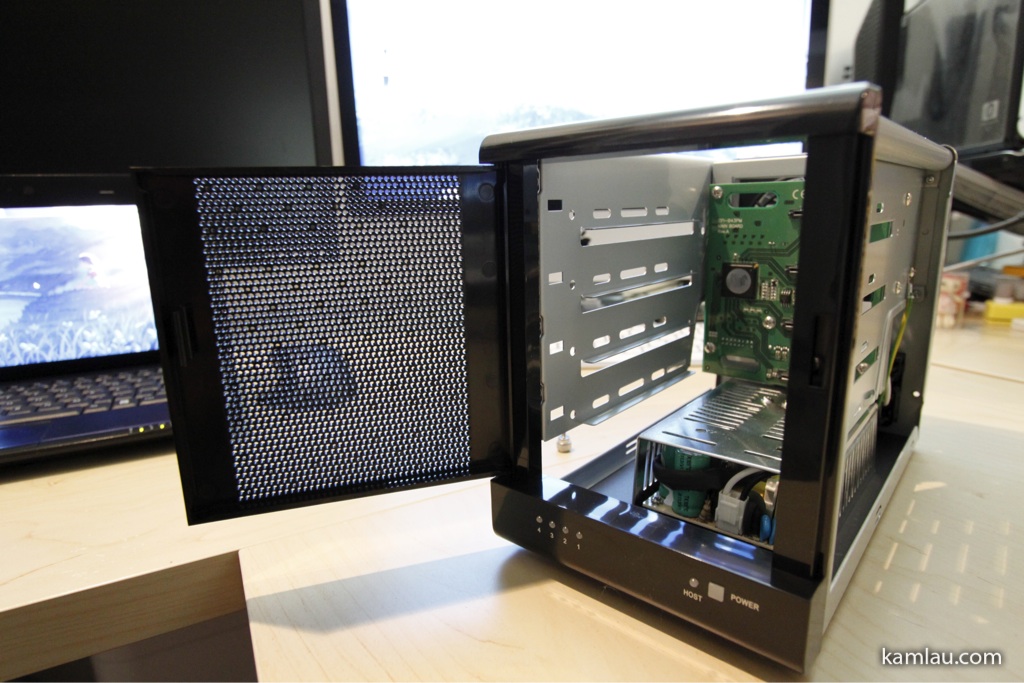
The inside of the TowerRAID is very simple. There are no drive brackets like the Acer easyStore Home Server. I really like this clean design as it makes installing drives a matter of sliding them into the slot.

As you can see, the fan sits behind the PCB of the TowerRAID. Some people comment that this will restrict air flow through the hard drives. It can be a consideration because the warmer the hard drives run, the shorter the lifespan they will have.
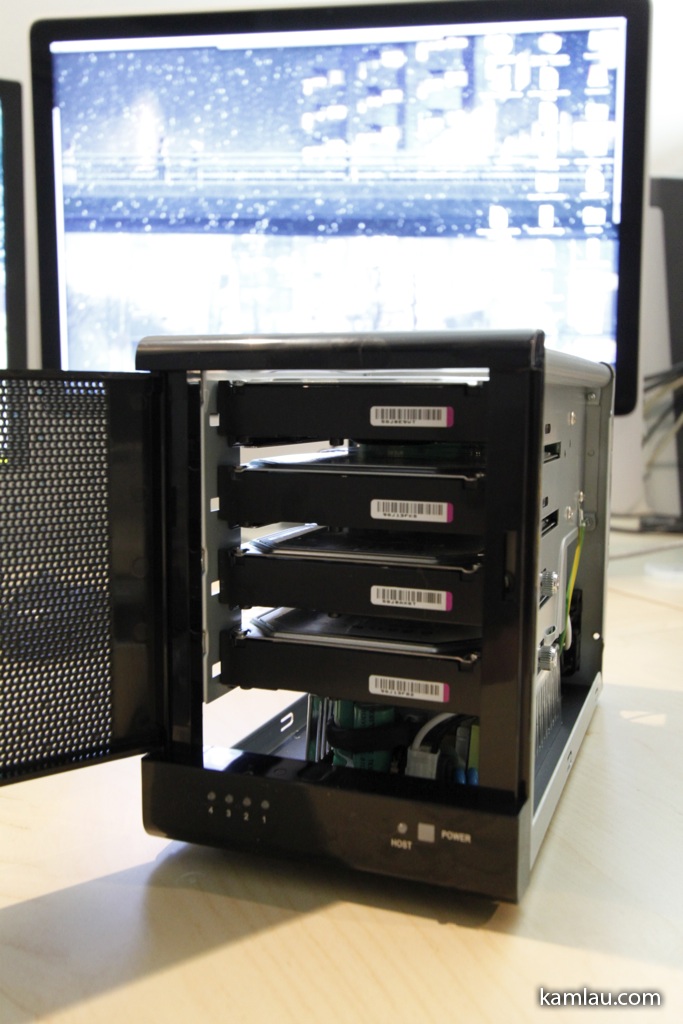
Looking at the TowerRAID from its front with the front door opened. The front door is made of plastic and the only concern I have is possible hinge damage if you are not careful. Under the door, from right to left, is the power light (square), the ready light (only lights up when the TowerRAID is connected to a computer), and the individual hard drive power/activity lights (green for power, amber for activity).
Drive 1 installed.
Drive 2 installed as well.
Using the supplied thumb screws to secure the drives.
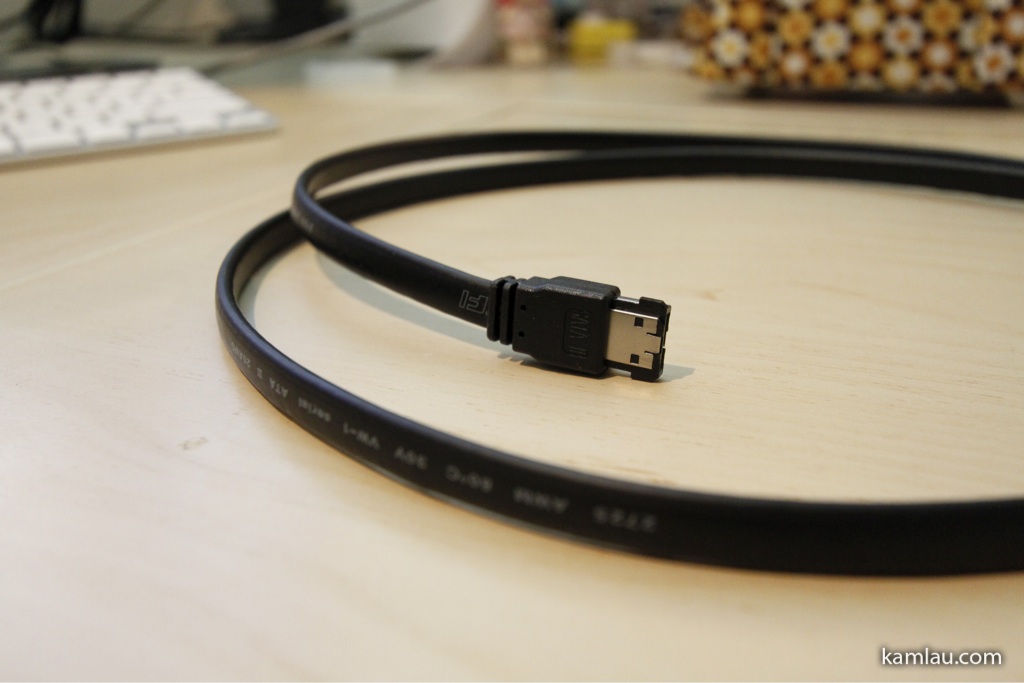
Next, need to connect the Sans Digital TowerRAID with the Acer easyStore Home Server with the supplied eSATA cable. The cable is about 6 feet in length and does not look like cheap cables that are ready to fall apart.

After connecting the TowerRAID, I turned on both the TowerRAID and the Acer easyStore Home Server. The hard drives are not spun up until the TowerRAID detected a computer is connected to it. The printed documentation of the TowerRAID is a bit outdated comparing to the software CD I got. Fortunately, the CD also comes with some documentation that guided me to install the software driver for Windows Home Server (Windows Server 2003 32 bit in my case).
After the driver is installed, the new drives are available in the Home Server Console.
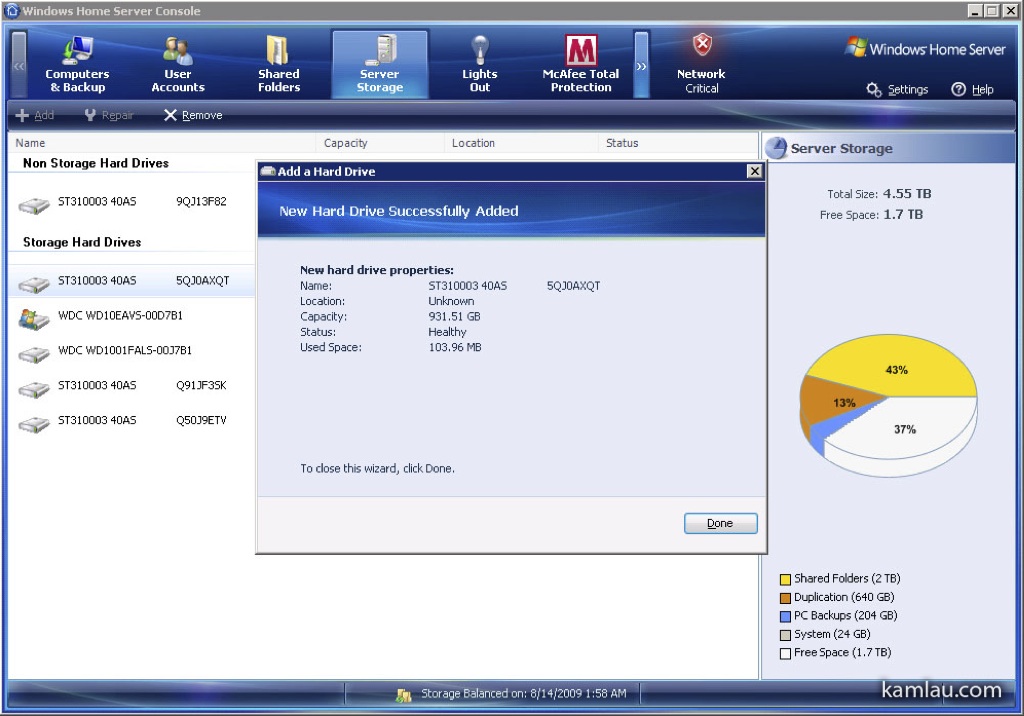
You can then add the new drives as part of your storage pool.
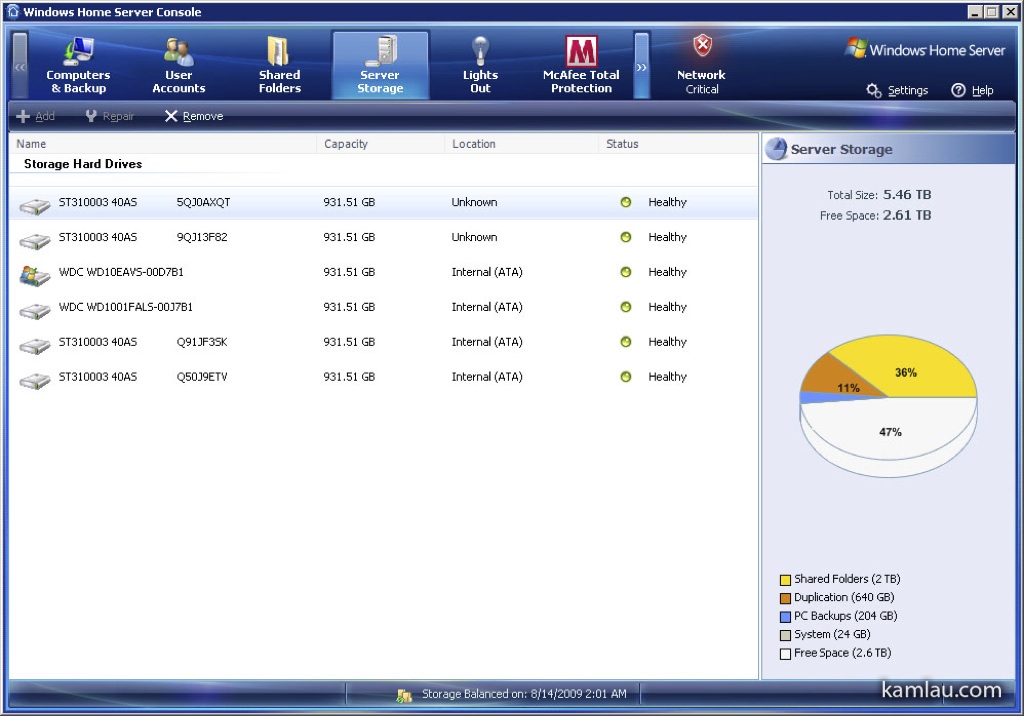
Now I got plenty more room for anime!
To further reduce the heat build up inside the Acer easyStore Home Server, I moved the two Seagate drives originally installed on the Home Server to the TowerRAID enclosure. Moving the drives is just a matter of disconnecting them from the Home Server and plugging them inside the TowerRAID. Once the Home Server is booted up, it automatically recognizes the drives being part of the existing storage pool and there is nothing to configure.

Finally, I put the Sans Digital TowerRAID enclosure with the Acer easyStore Home Server in a storage case under my desk. This makes the already quiet server setup even quieter. I am loving this setup.
If you are looking for additional storage for your Home Server and you have an available PCI-X PCIe slot in your Home Server, I would say the Sans Digital TowerRAID is a good solution for the money.
Update 2009/09/12.
clc4912 posted here his understanding of Acer easyStore supporting port multiplier out of the box without any additional port multiplier card support. I verified that his understanding is correct. I unplugged the TR4M from the e-SATA port on the PCIe card and plugged it directly to the easyStore e-SATA port, booted up the Home Server and all drives are recognized as before. Thanks clc4912 for the correction. So for the folks who wonder if they can use a plain e-SATA enclosure with the Acer easyStore Home Server without any additional port multiplier card supplied, the answer is yes.
And thanks Jeremy on http://mswhs.com/2009/09/11/expanding-the-acer-aspire-easystore-storage-capacity/#comment-17775 to help me correct my confusion of PCI-X and PCIe.


i attempted some thing like this before but ended up reverting back to vista
i have a 24 hard drive case enclosure and currently 16 of them are used
i only need them for storage so i got my self 2 raid controllers and added them to the MB although i dont really need one…
if you know a way that i can attach the whole 24 harddrives into a whs system it will be great
because currently with the raid cards it doesn’t identify the HD’s cirrectly
24 is a lot of hard drive to manage. I used to have up to 8 external drives plus the 6 internal drives with my previous home server setup but I found that the server runs really hot and it is not very energy efficient. So I consolidated the drives to TB drives and move the files to the new Home Server. If you have enough USB ports, you can hook up all your external drives to the server. If you are running out of USB ports, you can always add more with USB PCI adapters. However, USB connections are considered slower than eSATA connection. Alternatively, you can get the Sans Digital TowerRAID TR8M which can host 8 drives in one enclosure. If you get three of them, you will have enough room for all your 24 drives.
it seems like your photo of your acer easy store is outdated because only two hard drive lights are on but you say you have filled them all. i just put my fourth 1 tb drive in the easystore. now its time to look for esata enclosures. thanks for the suggestions.
Hi Erik, the photo is up-to-date as I have moved 2 HD from the Acer Home Server to the Sans Digital eSATA enclosure. Good luck in finding your enclosures, let us know how it goes.
Where do you find the drivers for WHS to get it to detect the tower? I purchase the TR4M-BNC which is a bit different from your model and I have the acer h340 also. Thanks
Hi Red, my TR4M-B came with a CD with drivers. The driver is needed for the Silicon Image eSATA adaptor. I am not familiar with your model so I can’t offer any help. Their tech support responds to emails so that is one place you can start. Good luck!
I just got the Sans Digital TR8M-BP 8 Bay Tower, and found that they divid the 8 drives into two section… So you have to use the dual port eSATA card they give you in order to use all 8 drives… The TR8M-BP 8 Bay Tower has two eSATA ports on the back Line-1 & Line-2…
Myself I am still new with WHS, and I am using the Acer Easystore 340… I still don’t understand how to get the Acer to see the Driver needed to run the new dual eSATA card that I installed… I even tried to copy and past the whole CD that came with the TR8M-BP in the “add-in” folder, and tried to launch it from there, but of course no luck..
Could you please give me some kind of walk though to follow in order for me to get my Acer 340 WHS to see the driver needed for the dual eSATS card…
Thanks
Hi David, I haven’t run WHS on the h340 for a while now (see here and here). However, from what I can remember, I need to use Remote Desktop Connection from another computer to connect to the Home Server, and install the driver by running the setup program that comes with the CD. Make sure you use the Windows 2003 version of the driver (and hope it came with the CD). Reboot and you should be good to go.
I finally got the driver and the dual eSATA card working now,and showing all 8 drive…
The main thing that kept stopping me was, I was not aware that you could “NOT” use the Remote Access that launches from WHS console (homesever.com). I knew I had to use a Remote Desktop, I but didn’t know I had to use the one on a regular PC in order to have more control of the WHS… Still a newbie when it come to the In’s and outs of a WHS…
What I did was first open the CD that came with the Sans Digital TR8M-BP and found the folder that had DRIVERS (32bit) in it and copied & pasted them to the WHS Share folder titled Software..
Using a PC running Windows 7, I then went to Start – Control Panel – Network Internet – View Network Computer and Devices… From there my ASPIREHOME server was listed, then I right clicked with the mouse which gave me and options to “Connect with Remote Desktop Connections”. From there I was able to lunch Remote Desktop Connection to my WHS, after I logged into WHS it gave me some what of a PC desktop…
Next I went to Start – (Right click) on My Computer – Manage – Device Manager, found the SCSI Raid Controller with the yellow ? … Click the [Driver] tab in the device properties. Click the [Update Driver] button to continue..
The €œWelcome to the Hardware Update Wizard€ window appears… Next Select “Install from a list specific location ( Advance), then select ” Search for the best driver in these locations”, Check the “Include this location in the search:” Click on the Browse [button]… Go to My Computer – Data – Shares – Software, from there I found the folder that I copied the all the 32bit Driver in.. I believe it was the “RAID Driver 32bit Win -2003” was the one that was needed…
After the driver was installed for the controller, and the WHS restarted. Everything worded like a it was suppose to…
Never really working with a WHS before, I think in the last 3 days I’ve learned more then I ever thought I would…
I hope in some way this could help some one else too.
Thanks,
David
Thanks for the detail write up!! How do you like the TR8M-BP? What is the practical throughput you get from transferring big files?
We will share this awesome blog on our Sans Digital facebook Fan Page!
Thank you for Sharing!
Good pictures and description!
Thanks Jade!