How To Use Google SketchUp for Interior Design
Google SketchUp 8 is probably one of the easiest to learn 3D design software. It is very easy to understand concepts like draw a shape and extrude it to become a three-dimensional object. With the free version of Google SketchUp, you can use simple shapes to create a quick 3D space. Here I have an example of how I used Google SketchUp to help my sister design her study room.
If you are wondering if Google SketchUp would work for you, look no further than here. It supports Mac OSX 10.5+, as well as Windows Vista, XP and 7.
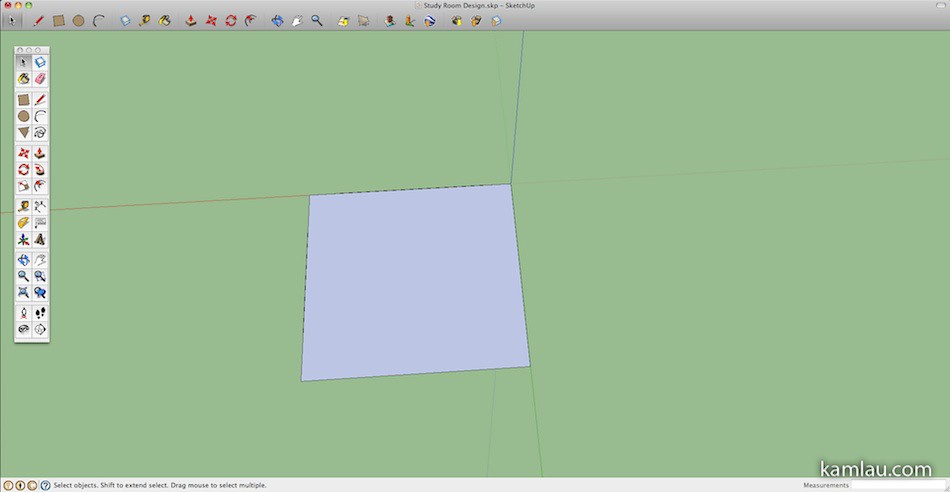
My first task is to create a boundary of the study room. With the measurements my sister provided, I first drew a rectangle that covers the maximum dimensions of the room. When you draw a rectangle, the Measurements textbox at lower right corner of the window shows you the measurements (I am not using it, sorry) so while you drag to draw the rectangle, you know what the dimension is.
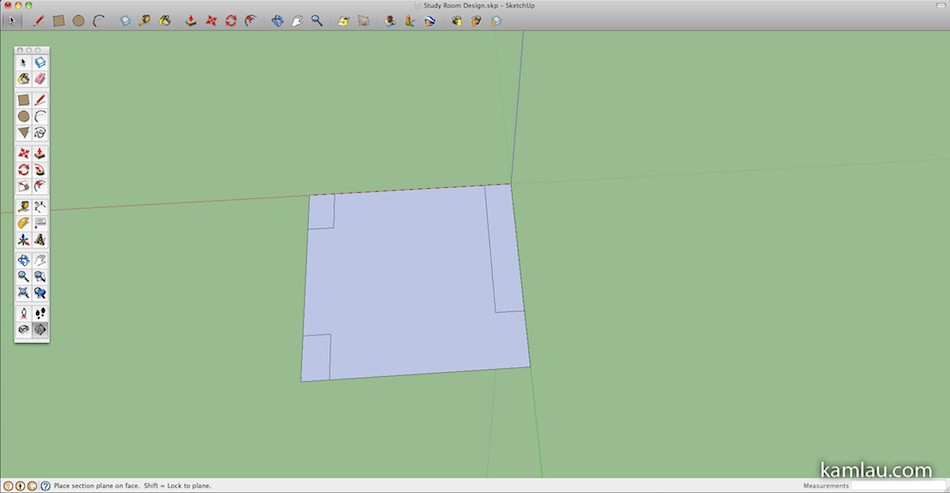
Then I drew the areas that need to be “cut” from the room area. Then by selecting and using the Delete key, the excess areas are removed from the big rectangle. This is very similar to Flash if you used it before.

This starts to look like the floor of the study room. I rotated along the Z axis to get a better angle.

Next, I used the extrude tool to make the flat area into a 3-dimensional object. It cannot be much simpler than this :)

In order for me to work on the “room”, I decided to remove the “ceiling”. All you have to do is select the surface area using the select tool, then use the Delete key to remove it.
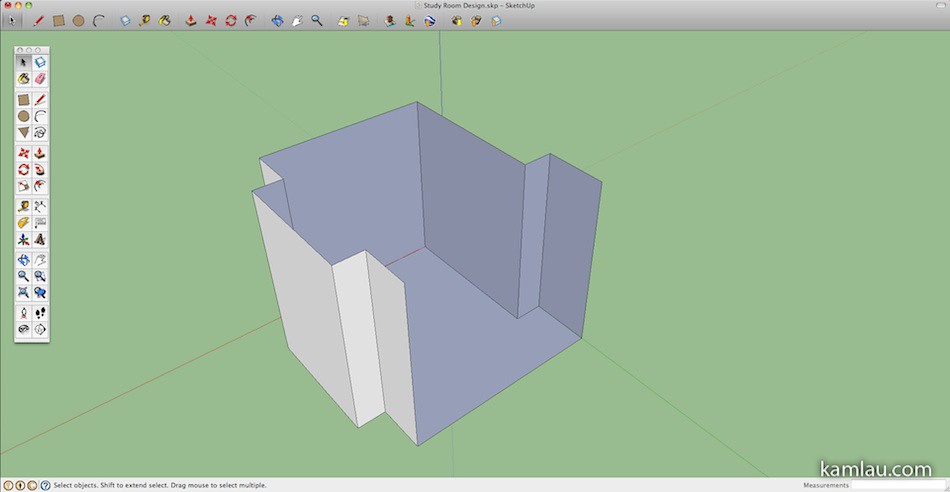
I decided to remove some walls that I am not going to use.

The set is ready for some details, but I will rotate the scene a bit before continuing.
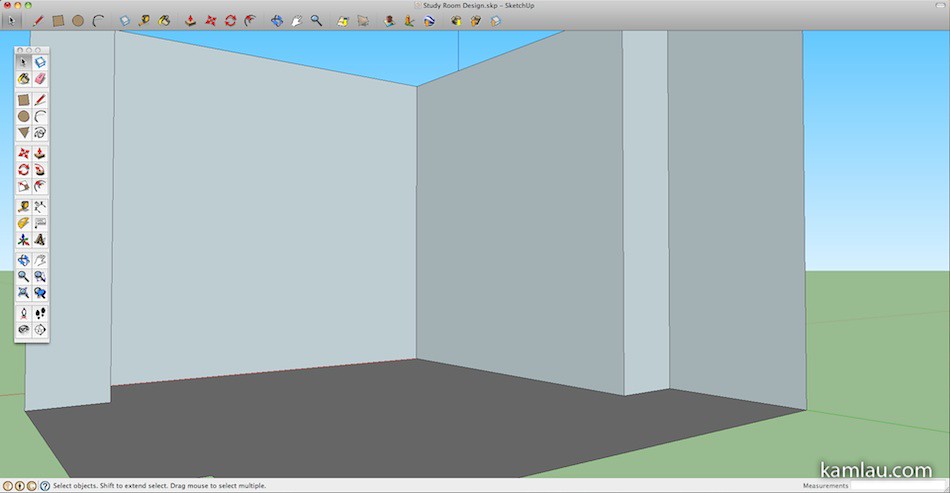
I applied a color fill to the “floor”.

Using the 3D Warehouse, you can download all sorts of 3D models to help you with the rest of the project. Here I just downloaded a door and pasted it where it belongs.
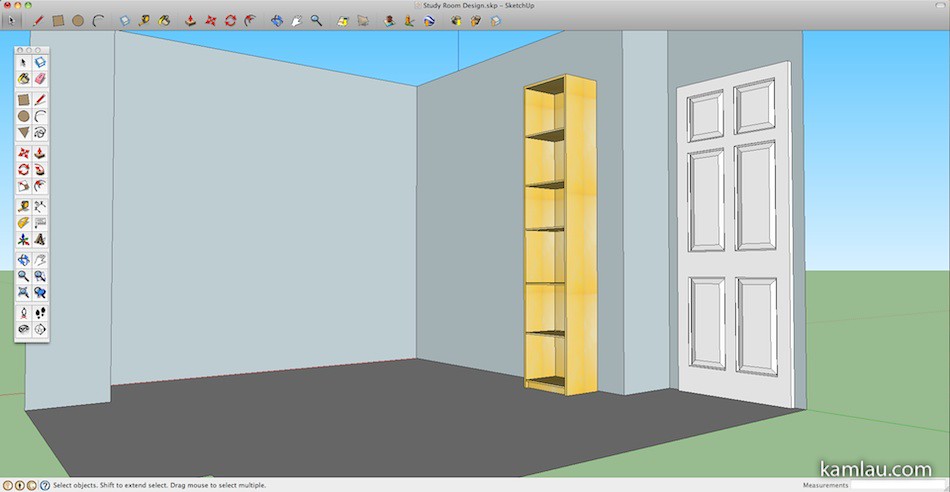
The 3D Warehouse also has a large inventory of IKEA furniture, like this 40cm Billy bookcase.
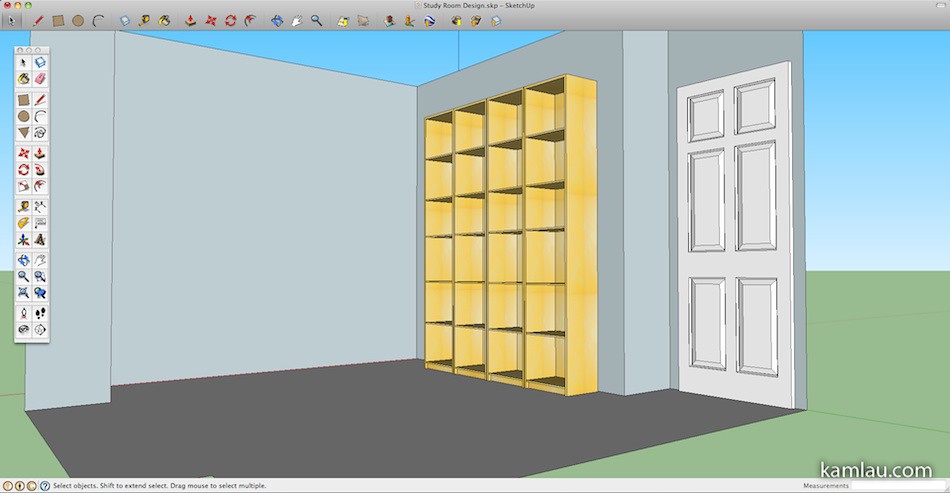
Add another 3 to line the wall. It is as easy as copying and pasting.

Add another one at 45 degrees at the corner. The rotate tool in Google SketchUp allows you to rotate the object along one of the 3 axes.
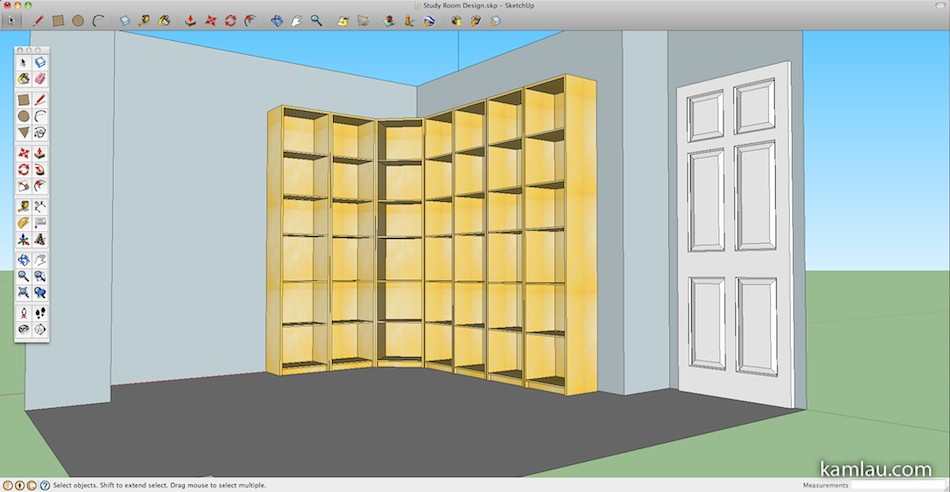
There I continued to add more Billy bookcases by copying and pasting.

And finally, adding a chair and a small coffee table.
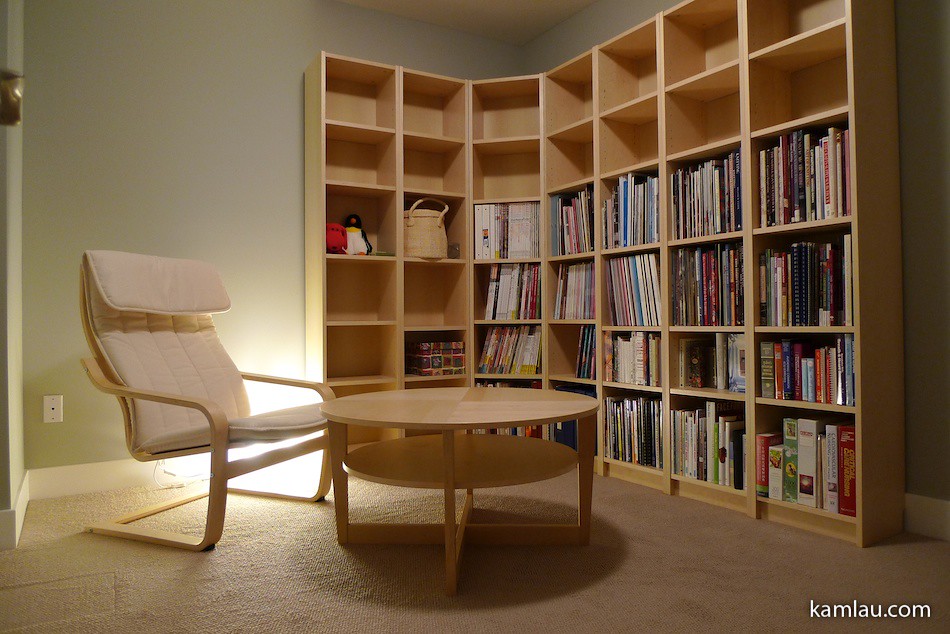
And here is what it looks like after the furniture is put together. Google SketchUp helped us accurately assess if we have enough room to arrange furniture in a certain way within the room. The whole planning process took a couple of hours but it is well worth it as you can visualize how the intended furniture will fit into the room.
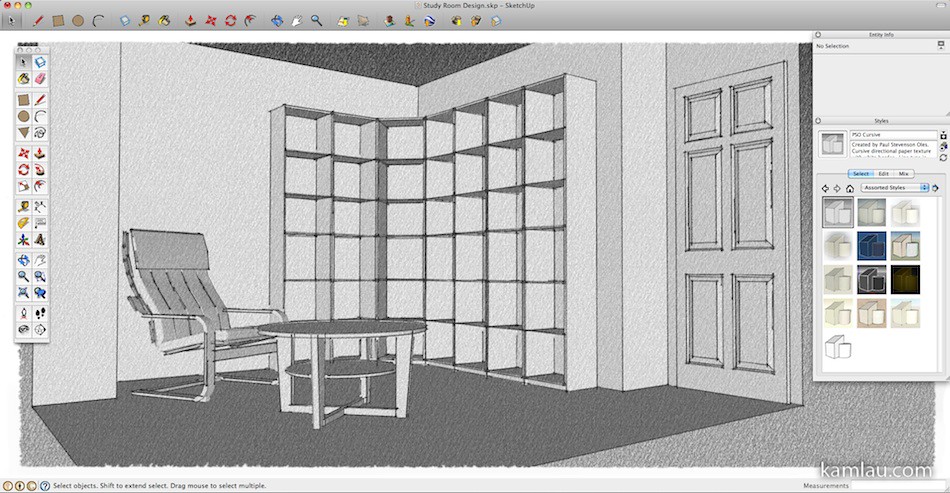
Other than the original simple style of rendering, Google SketchUp also includes an array of other rendering styles to choose from.
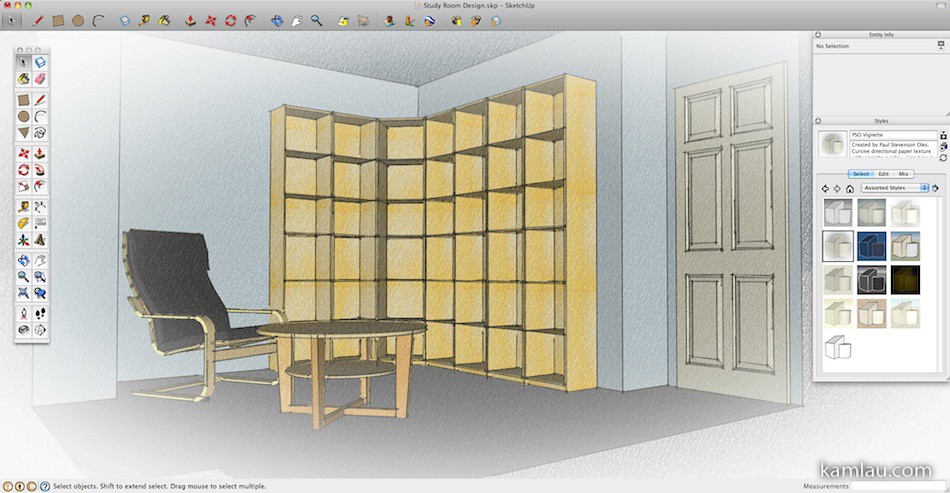
Are you ready to give Google SketchUp a try? What other 3D software you would use to help you design your room?
![[KL]-1 kamlau.com](http://kamlau.com/wp-content/uploads/2016/03/KL-1.png)
![[KL]-2](http://kamlau.com/wp-content/uploads/2016/03/KL-2.png)


This is definitely great to make before actually setting things up permanently ^^;
cool! Looks so comfortable.
wait, is that a photo or a 3d render result? What render engine are you using?
It is a photo of the room with real furniture. Sorry to disappoint :[